
Image Lab
See the difference.
Look at the detail.
Real source photographs, processed in Phorevia. Compare the full image or inspect a detail crop, then explore the tools behind each result.
Burst stacking
More from the moments you capture.
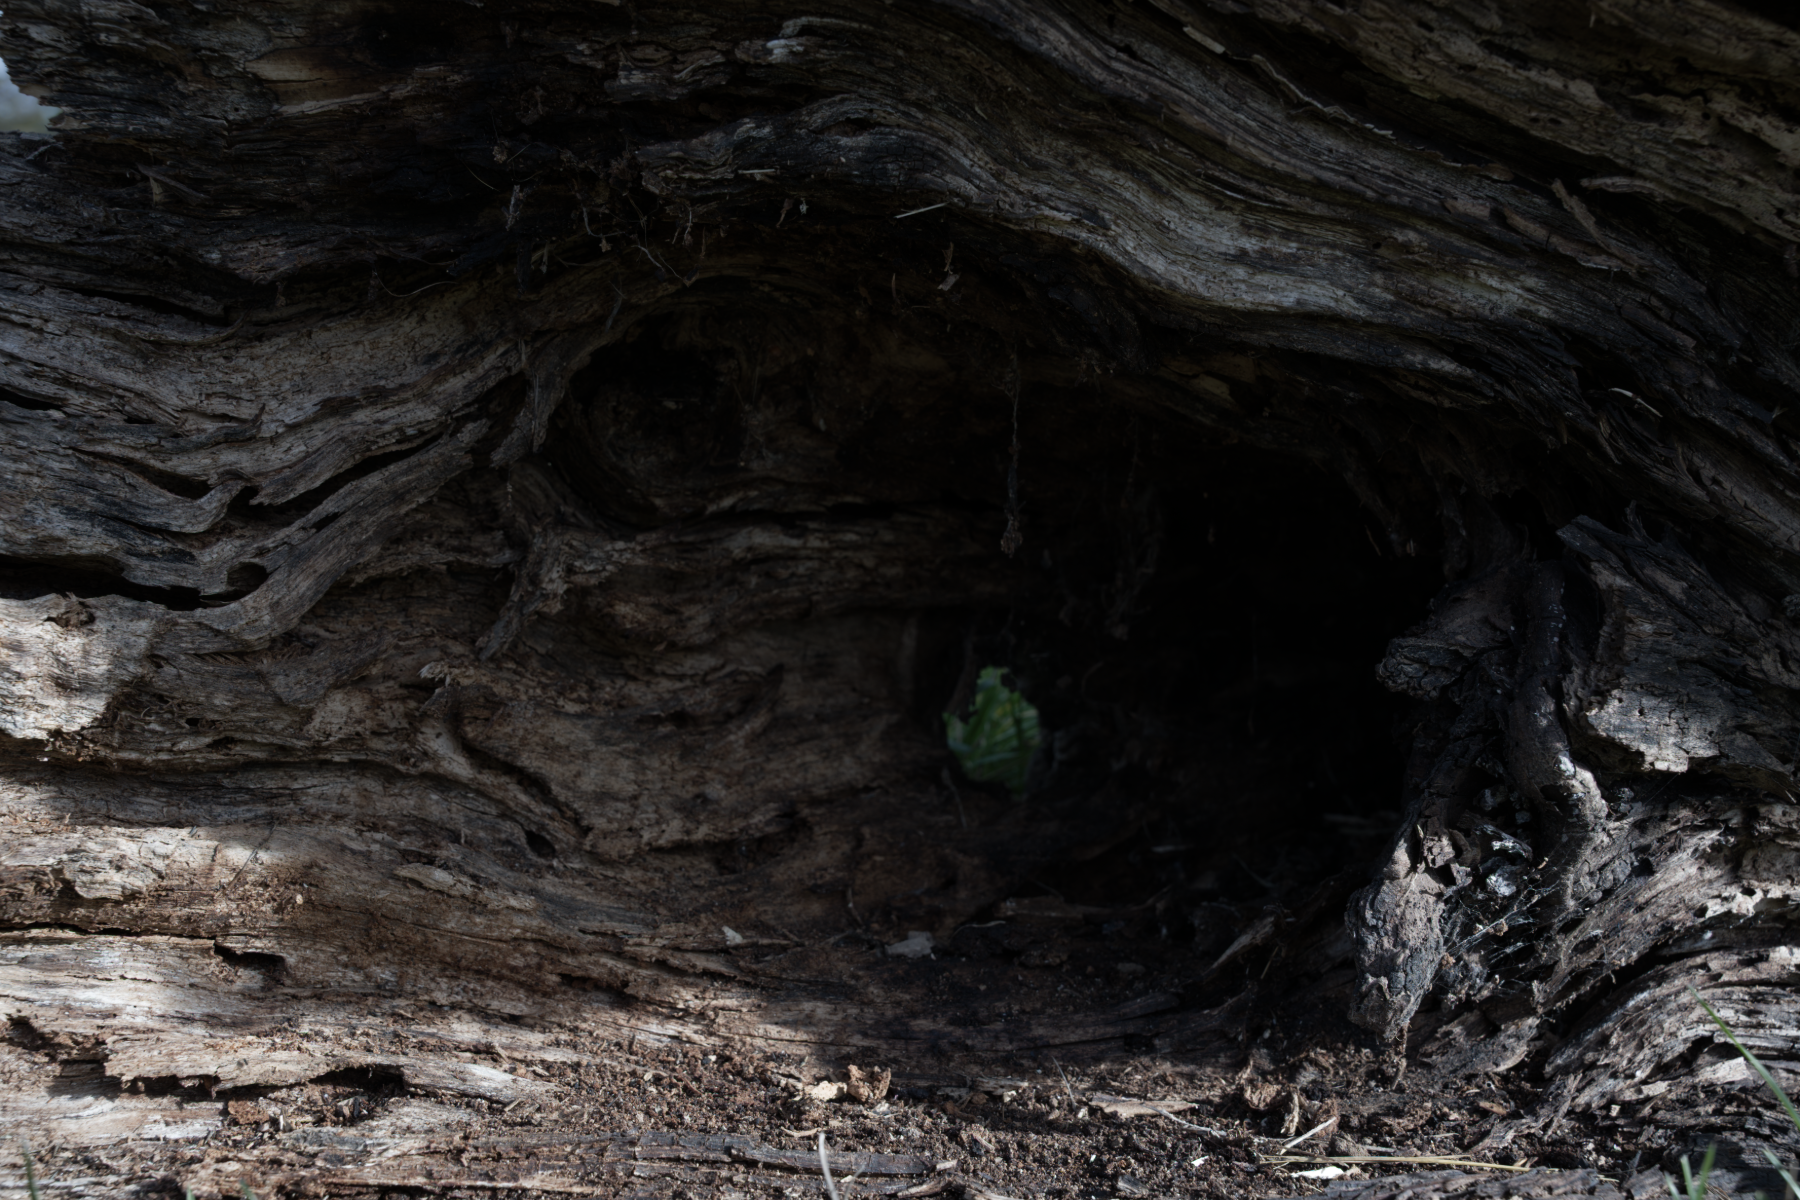
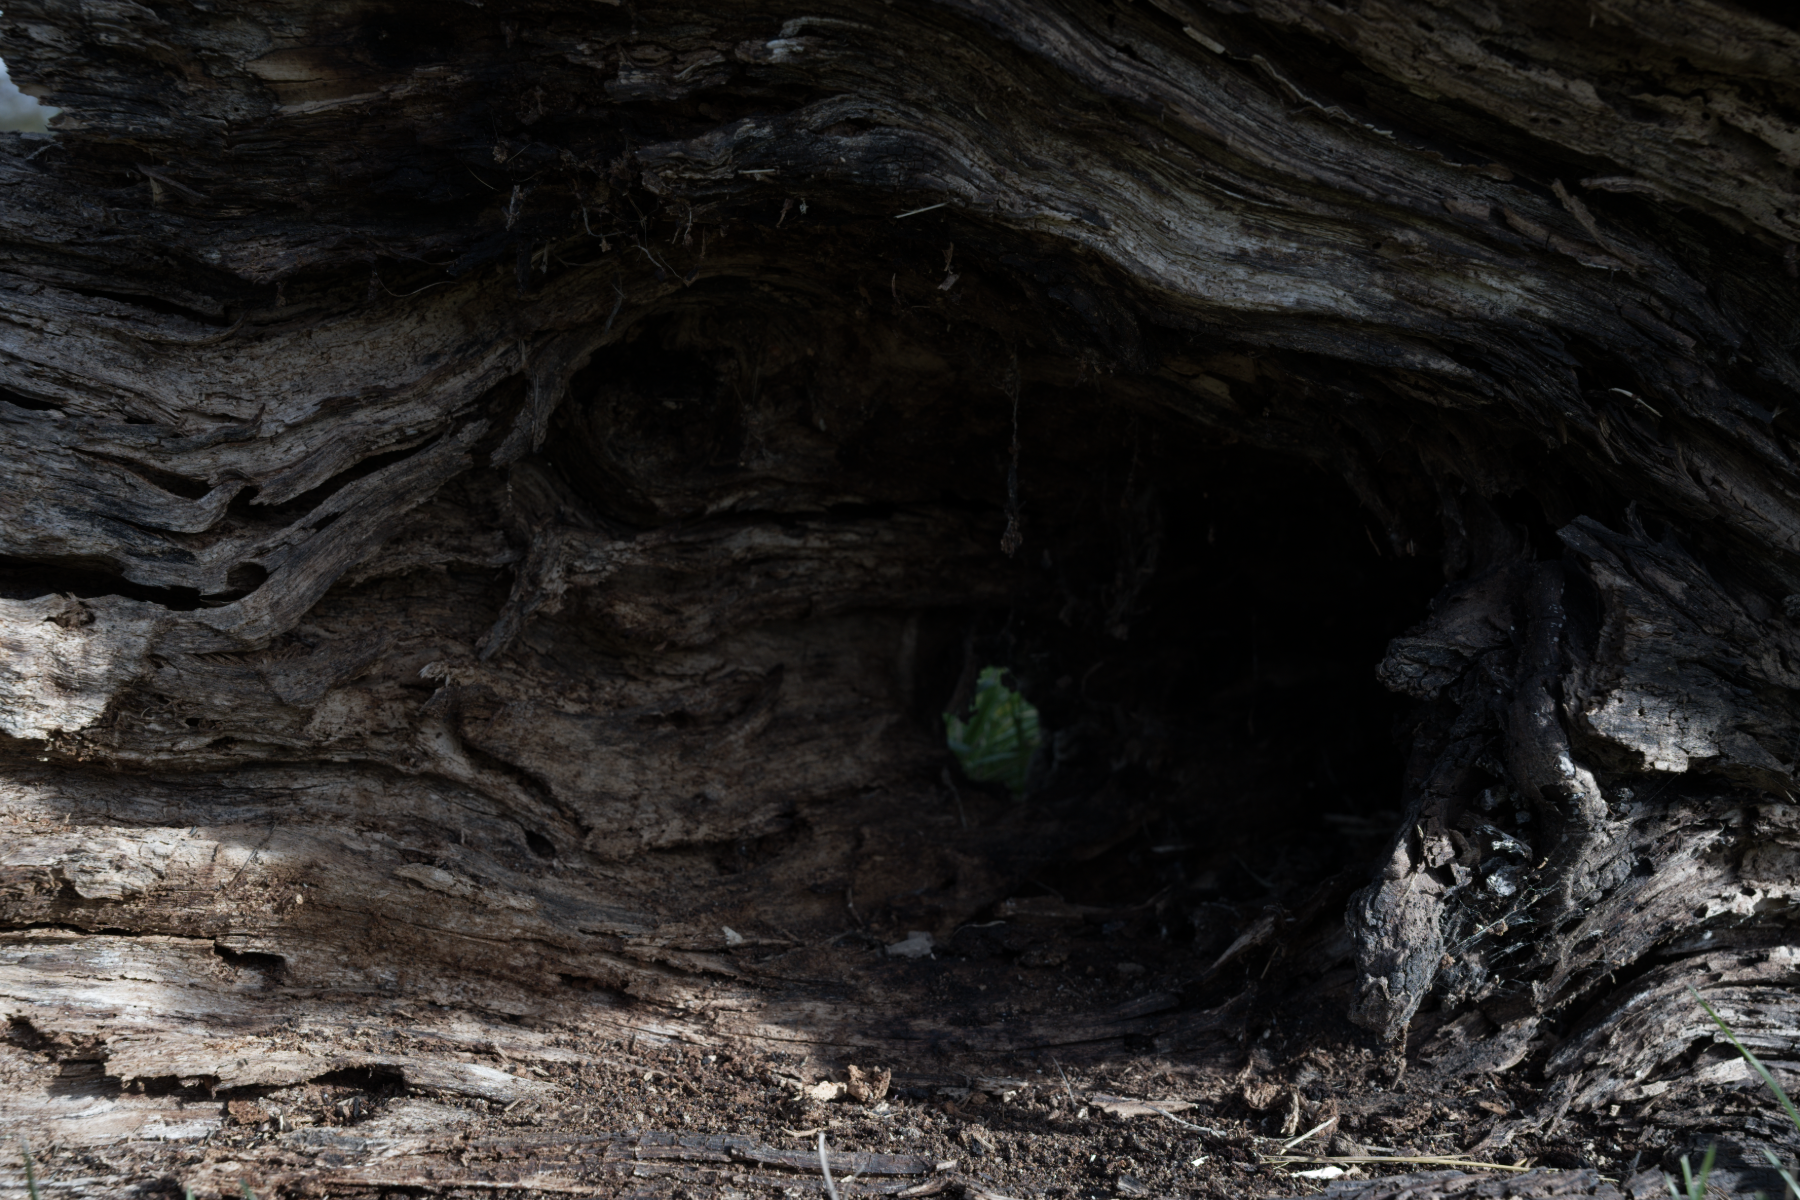
Capture & processing notes 9 source photographs · 960 × 640 detail crop
Before
- Default RAW development
- As-shot white balance
- AI denoise off
After
- 9 handheld RAW frames
- Production joint-reference high-quality alignment and accumulation
- Default RAW development
- AI denoise off
The reference frame and stack use the same development. No extra noise or blur was added to the source.
The detail view uses the same 960 × 640 source-pixel rectangle on both sides, starting at (1060, 3276). Its display size adapts to your screen.
AI denoise
Keep looking at the detail.
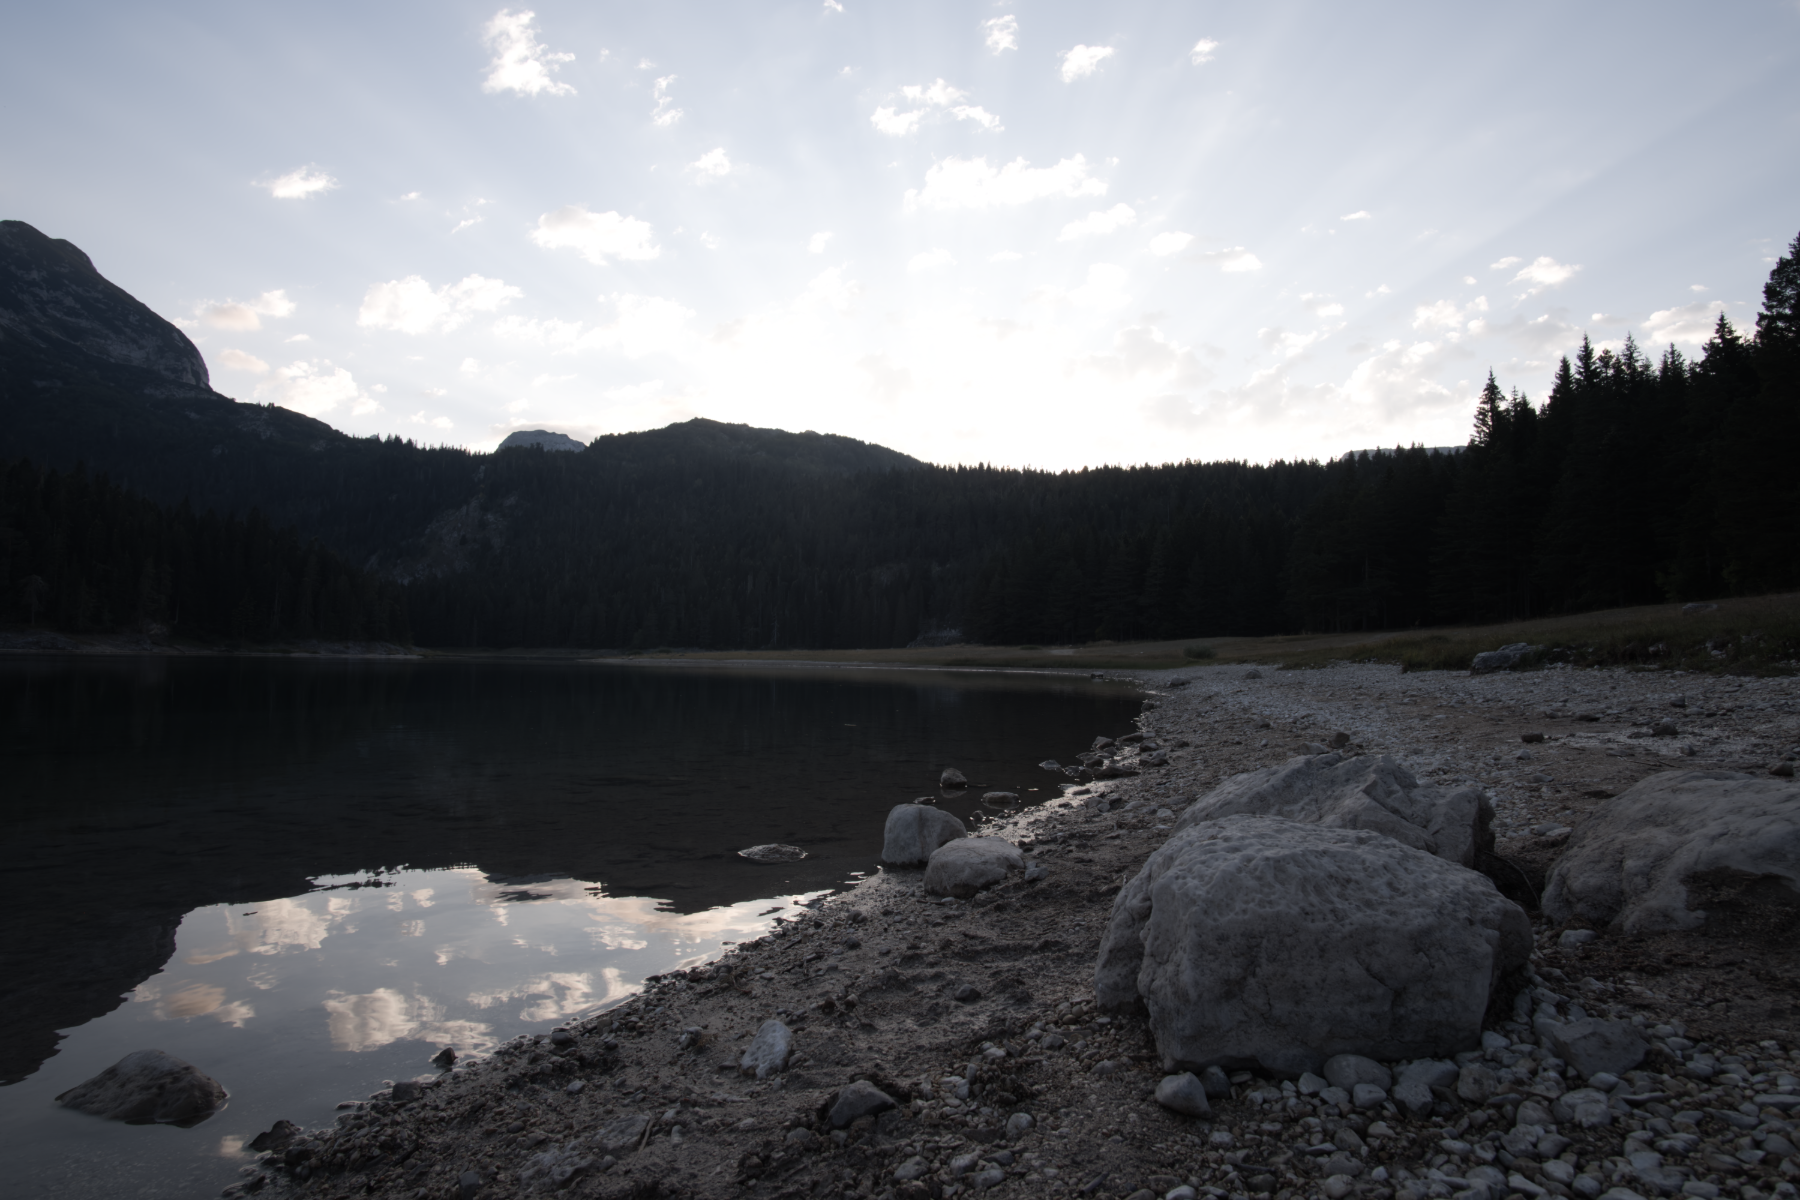
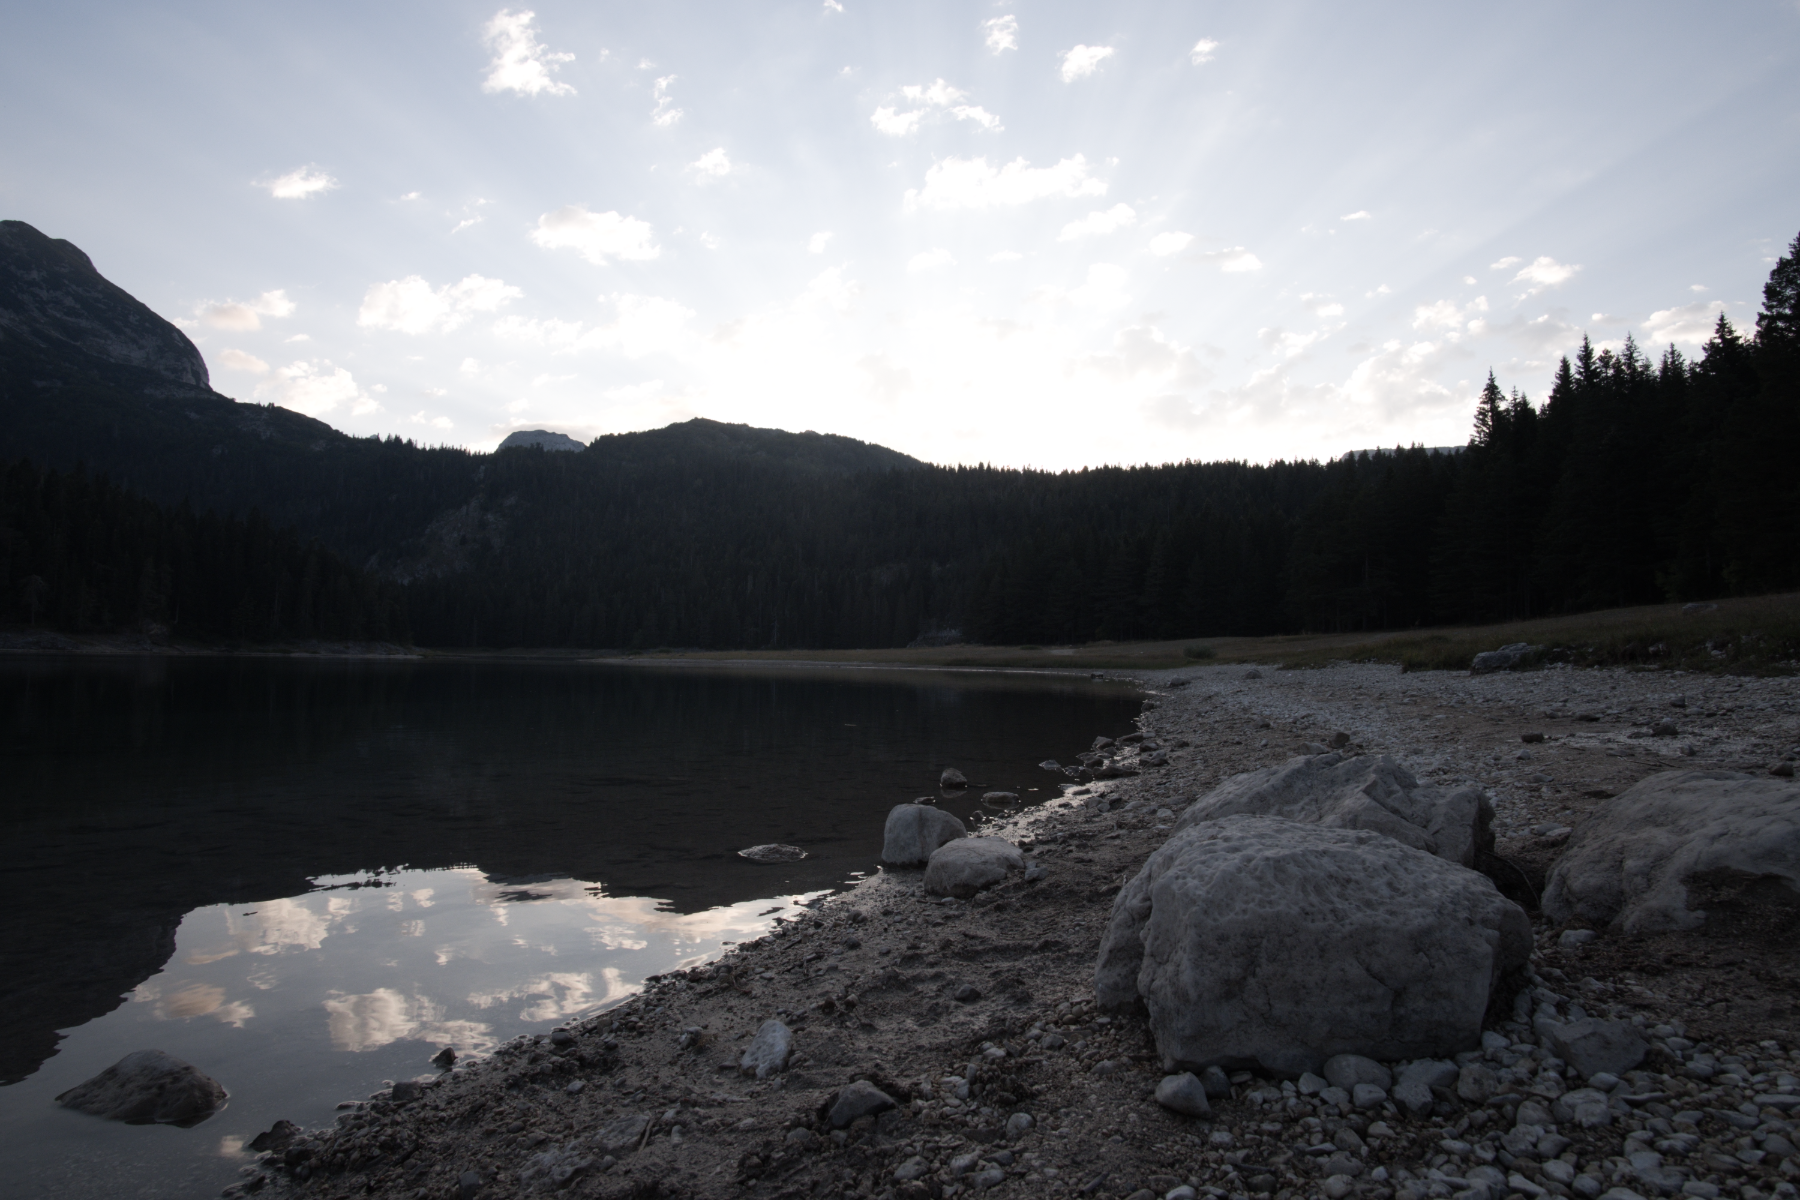
Capture & processing notes 1 source photograph · 960 × 640 detail crop
Before
- Default RAW development
- As-shot white balance
- AI denoise off
After
- Bundled joint RAW denoise/demosaic model
- Strength 100%
- Detail recovery 0%
- Automatic noise estimation
- Other development unchanged
AI denoise off/on on the same RAW capture, with identical exposure, white balance and output rendering.
The detail view uses the same 960 × 640 source-pixel rectangle on both sides, starting at (2520, 1680). Its display size adapts to your screen.
HDR merge
Make room for the light.
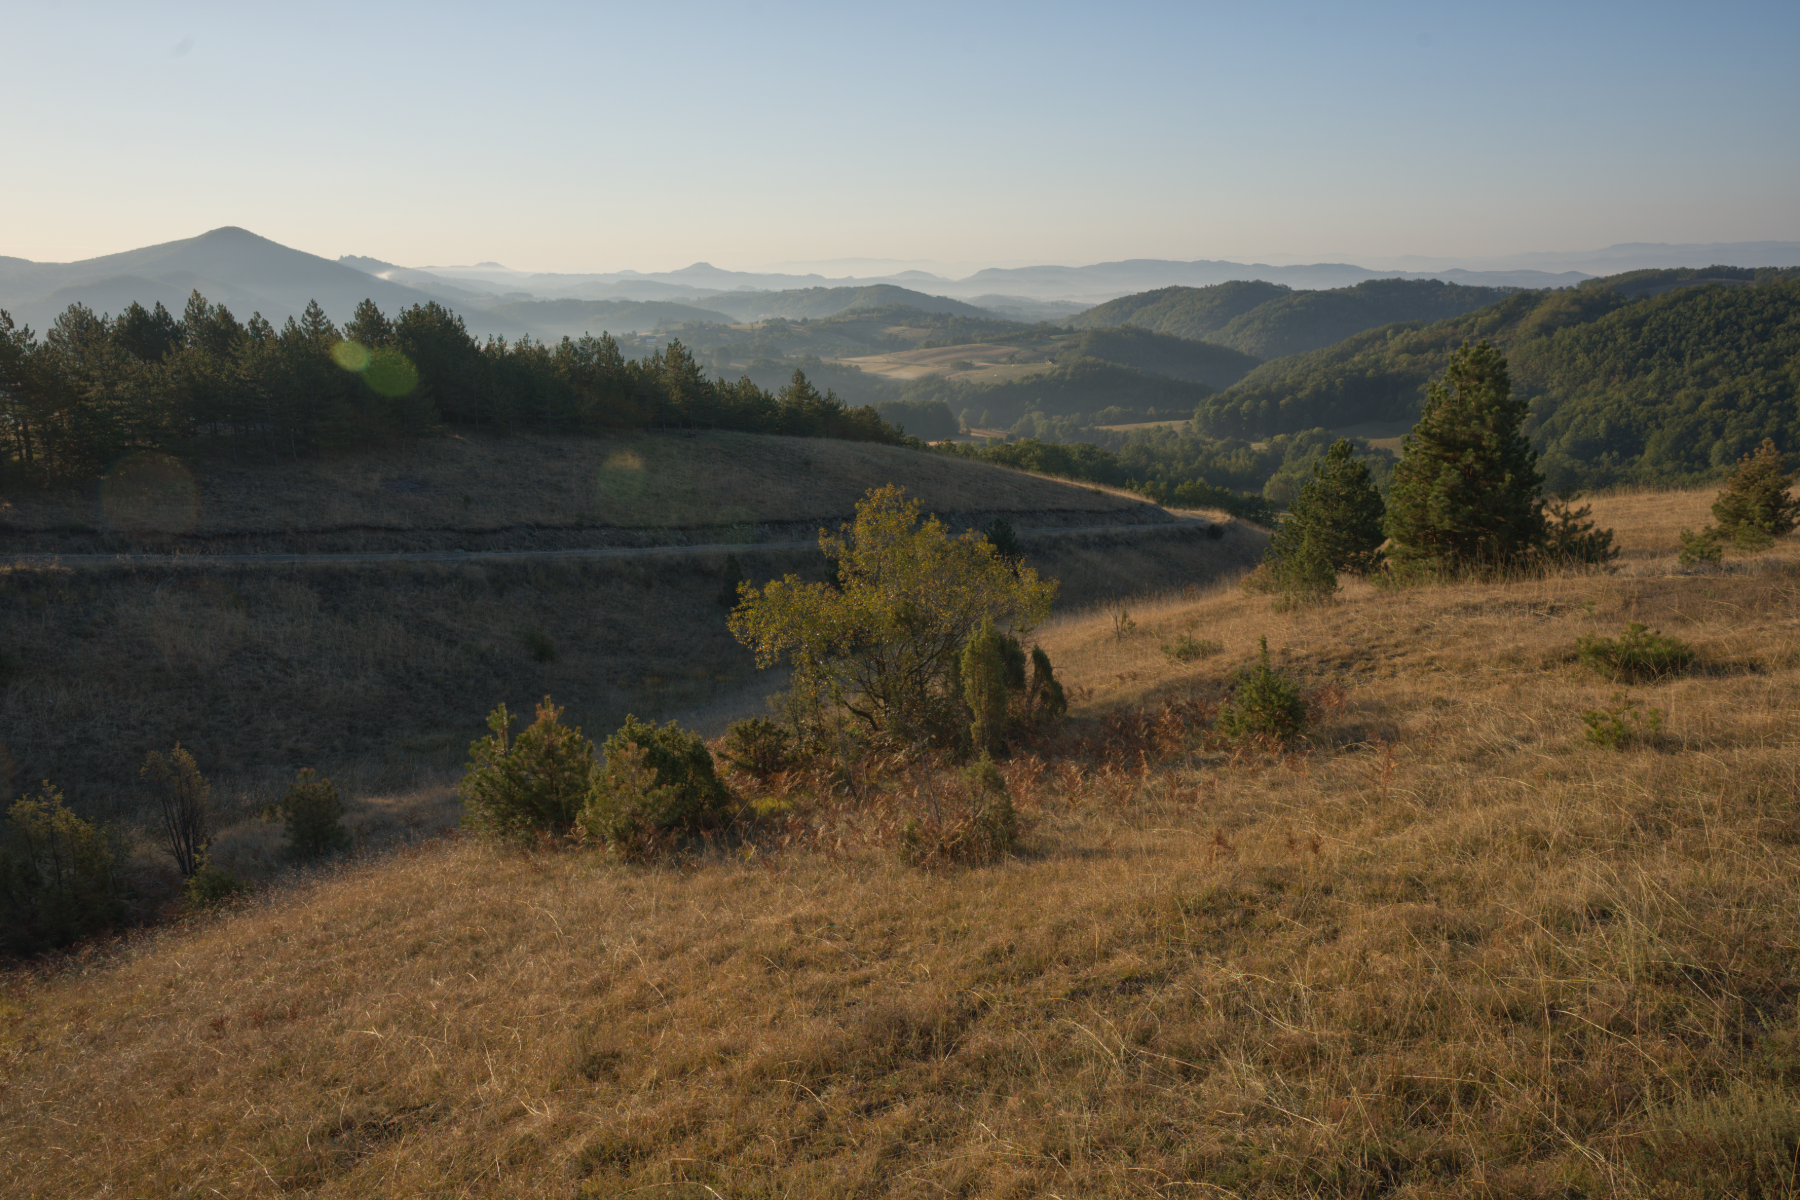
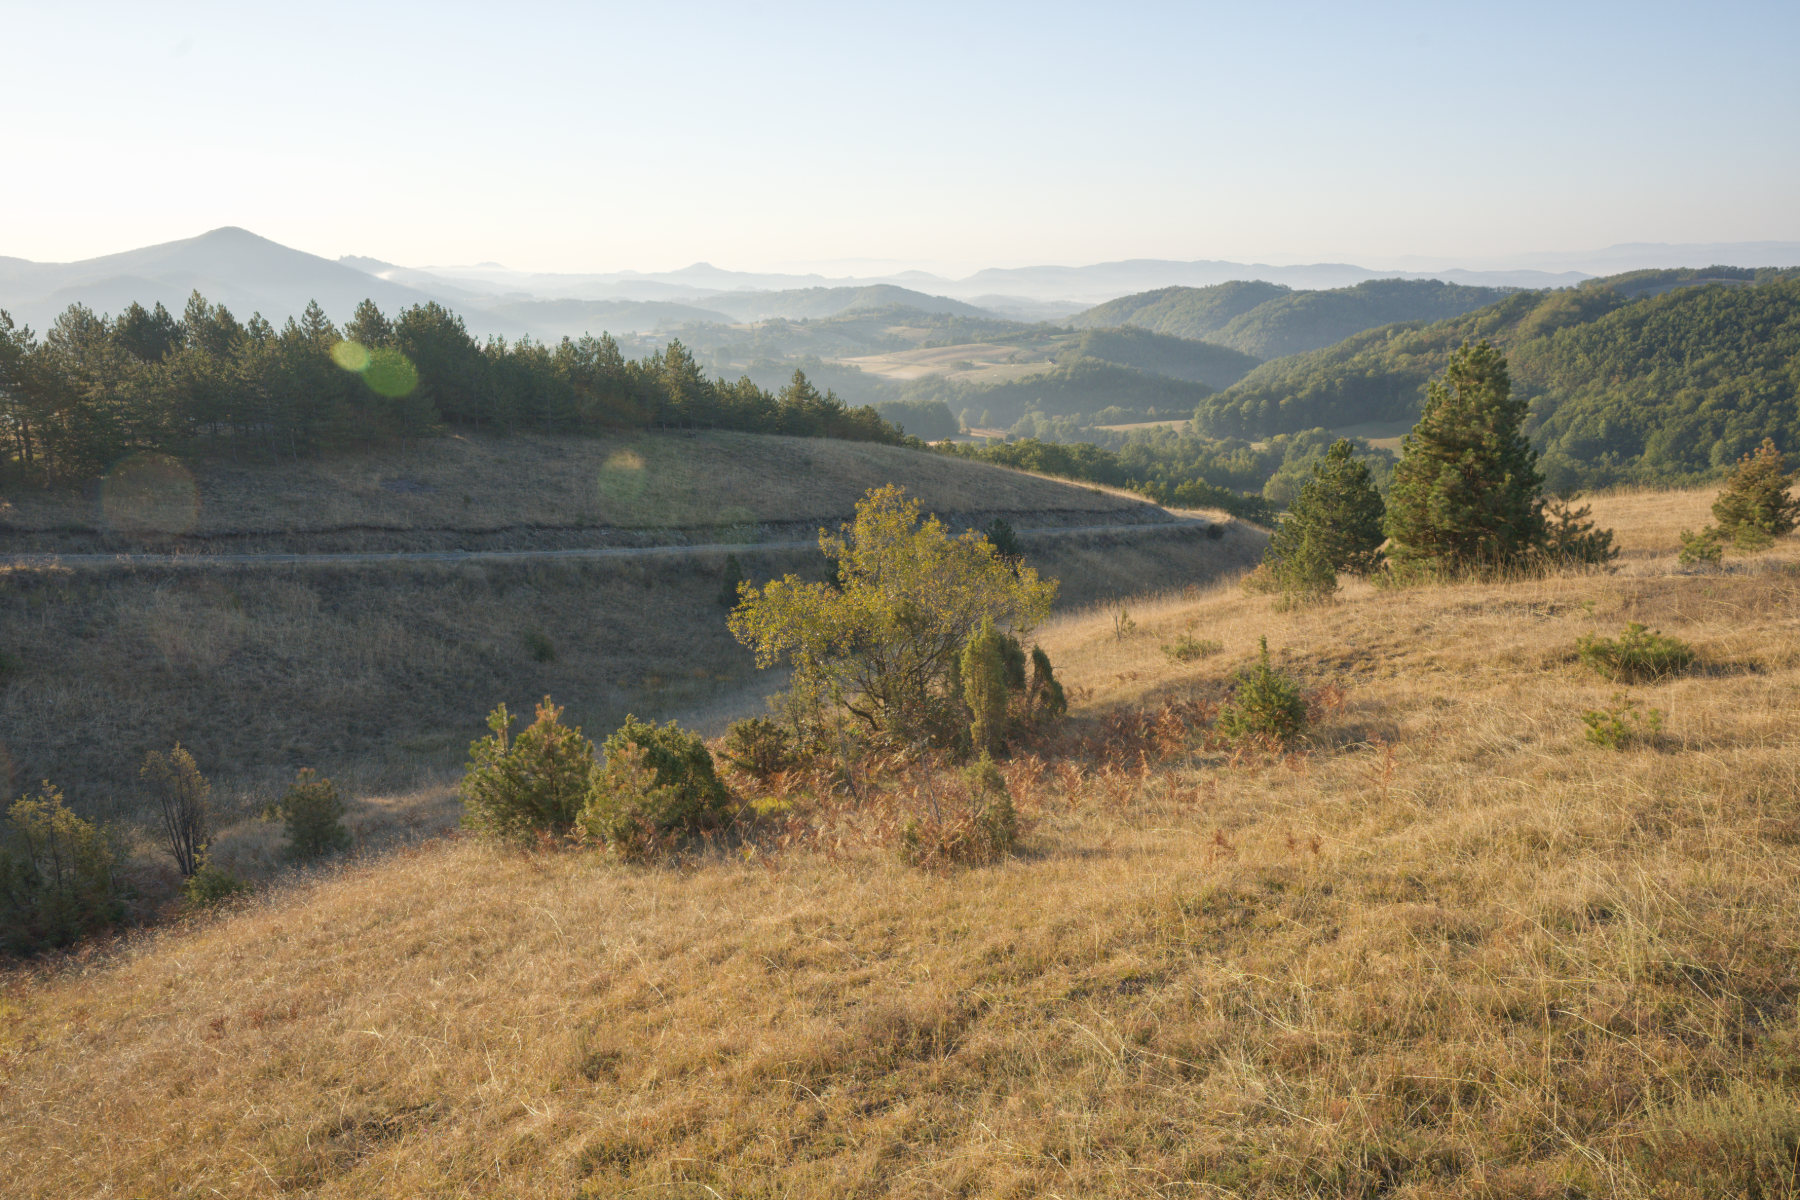
Capture & processing notes 5 source photographs · 960 × 640 detail crop
Before
- Reference exposure
- HDR compression 65
- HDR detail 15
- Matched default lens defringing and rendering
- As-shot white balance
- AI denoise off
After
- 5 real bracketed exposures
- Production aligned HDR merge
- HDR compression 65
- HDR detail 15
- Matched default lens defringing and rendering
- AI denoise off
The same HDR tone controls are applied to the reference exposure and the merged result. The inputs are real bracketed captures, not simulated exposures.
The detail view uses the same 960 × 640 source-pixel rectangle on both sides, starting at (3024, 2016). Its display size adapts to your screen.
RAW development
Your photograph. Your finishing touch.
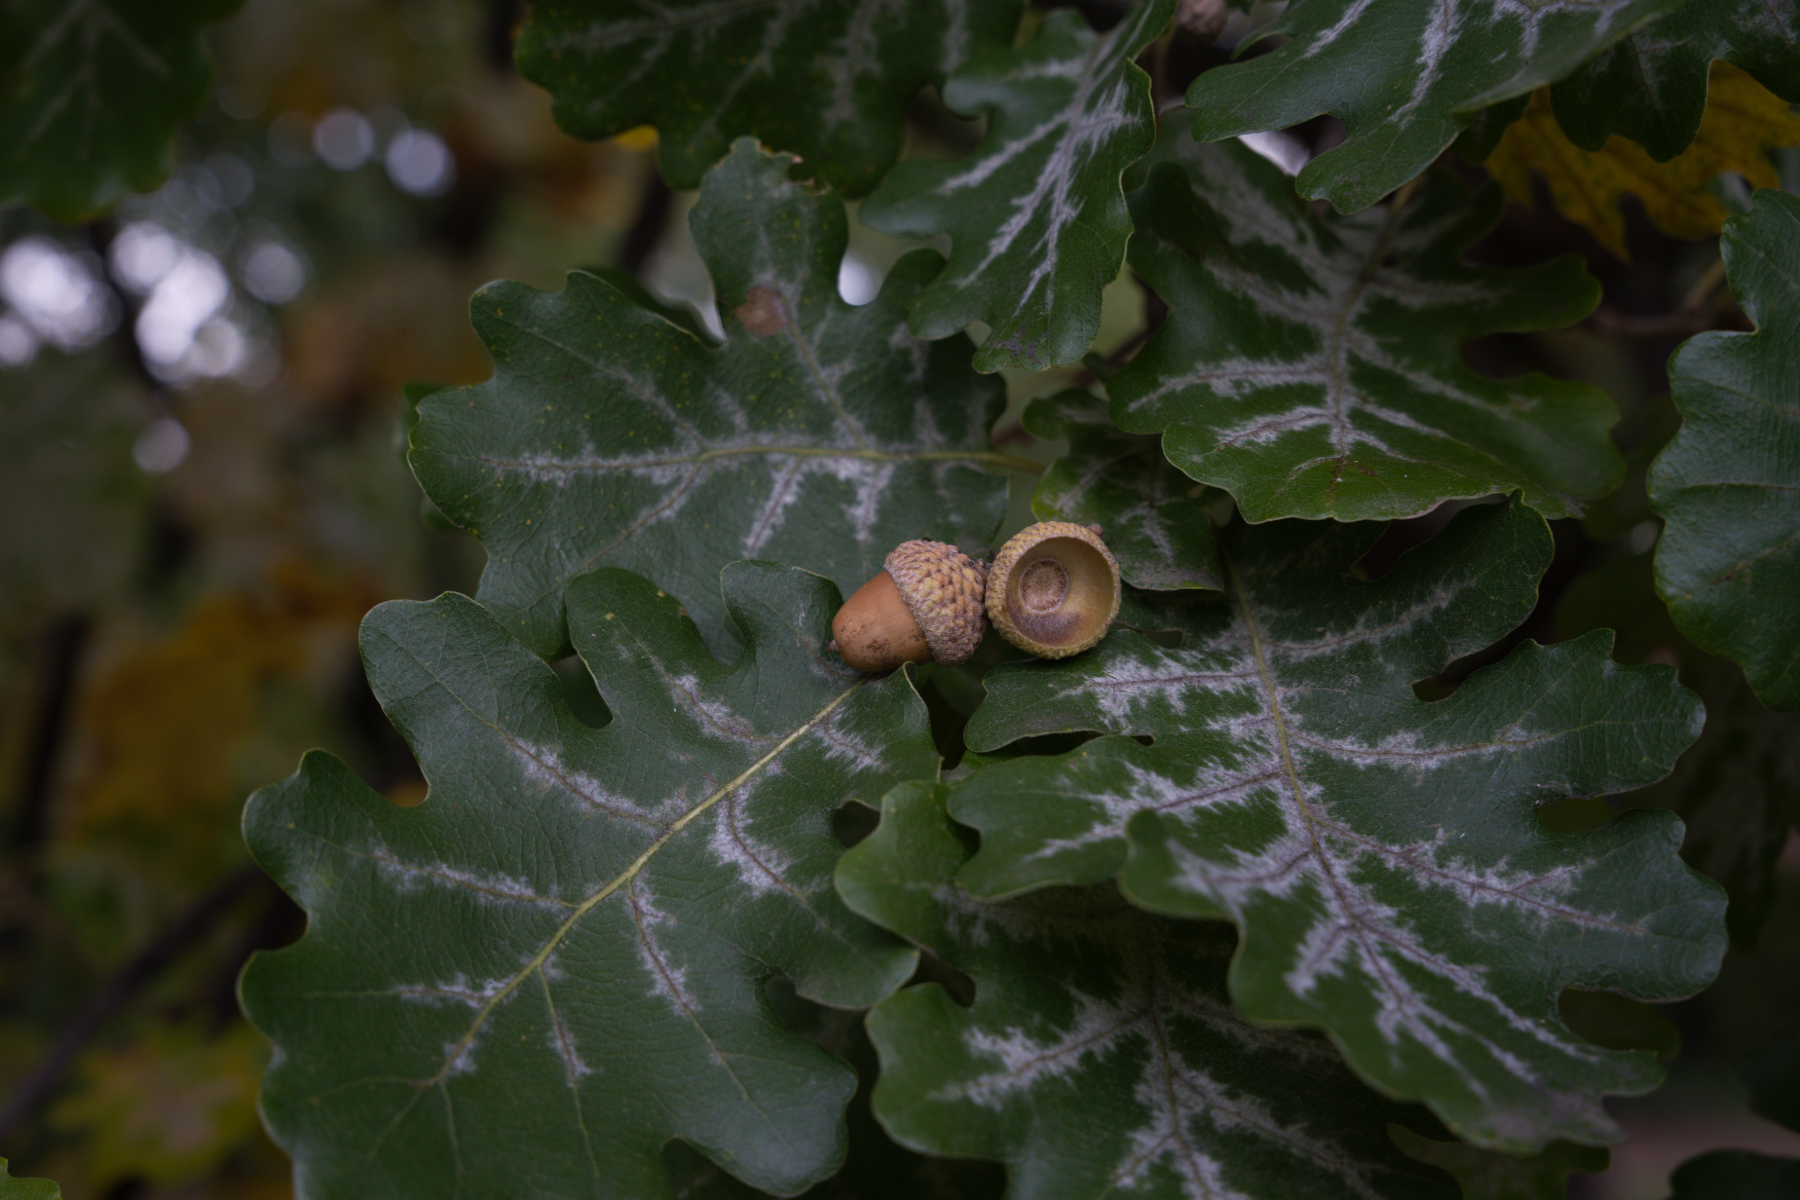
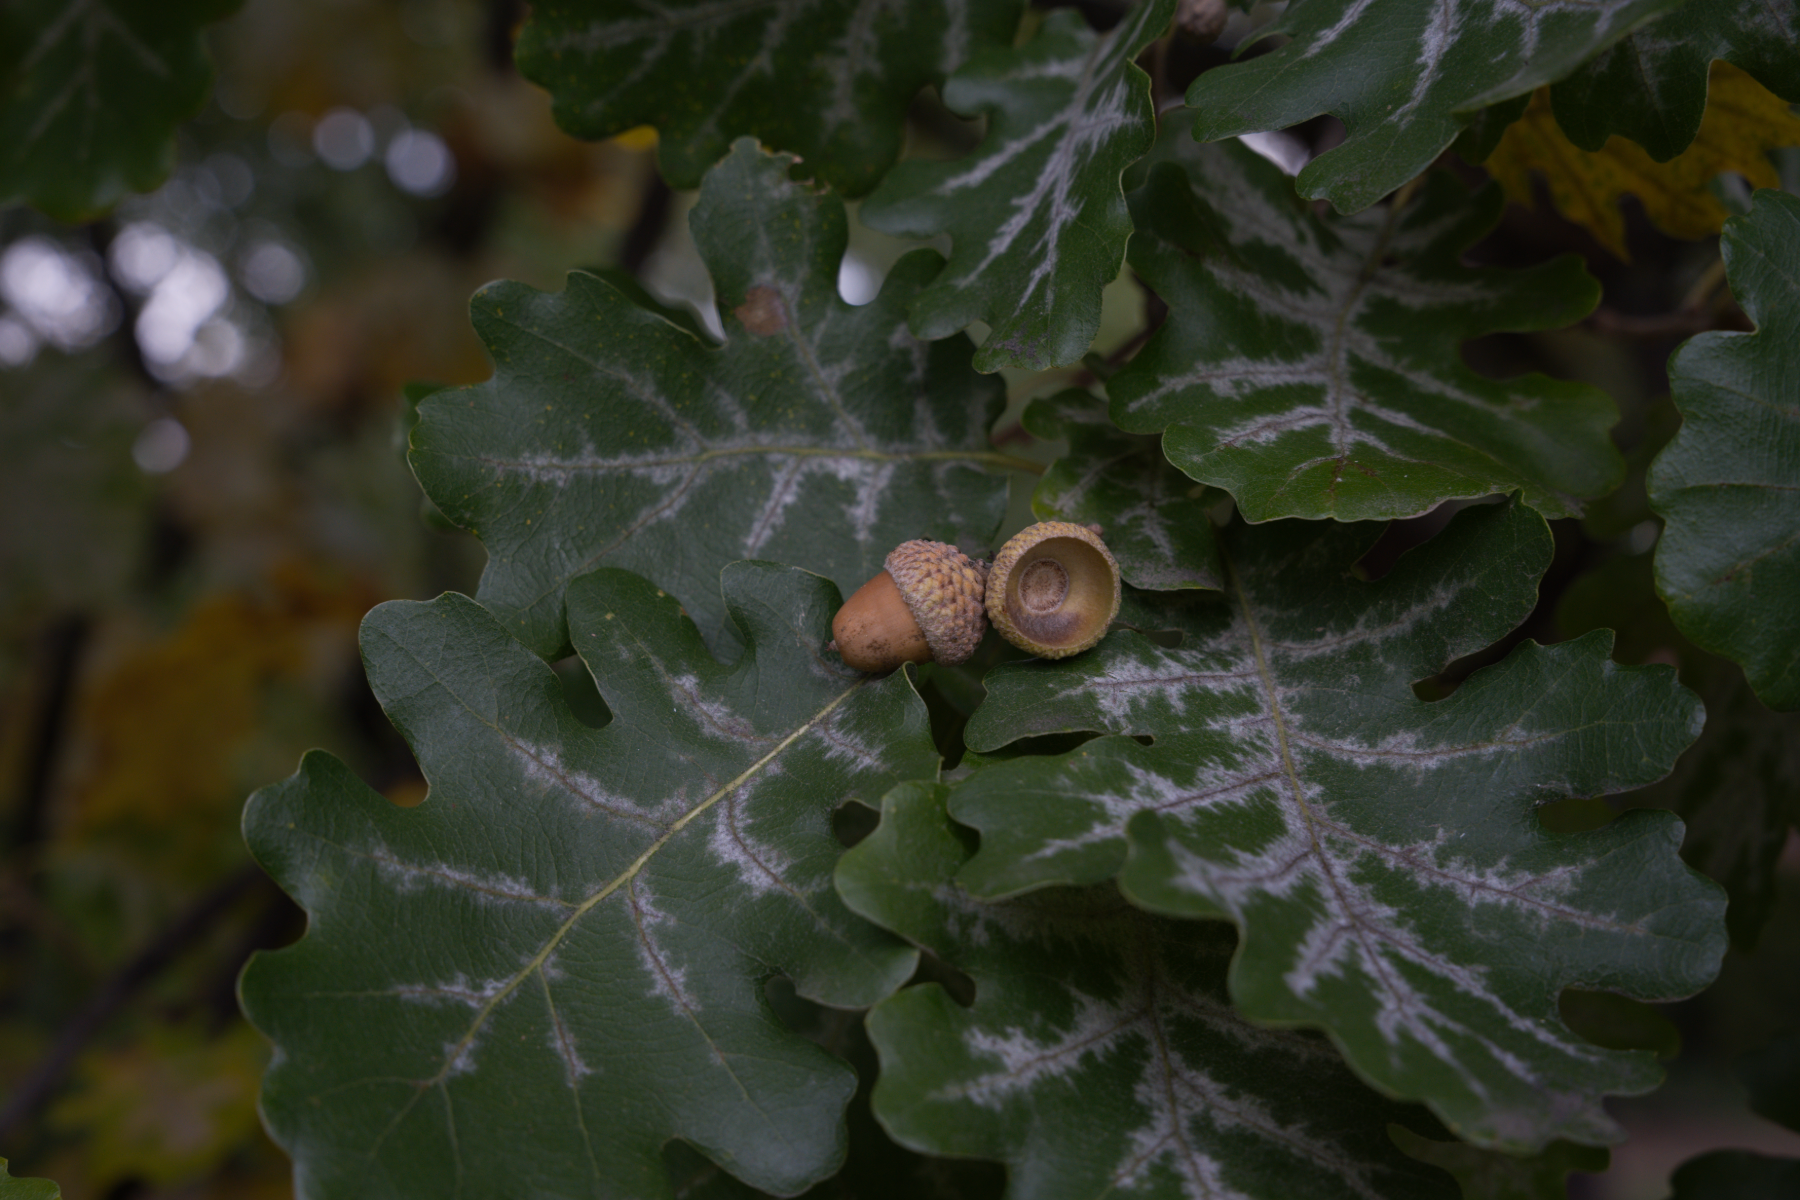
Capture & processing notes 1 source photograph · 960 × 640 detail crop
Before
- Default RAW development
- As-shot white balance
- AI denoise off
After
- Exposure +0.25 EV
- Contrast +12
- Vibrance +20
- Clarity +8
- Texture +10
- As-shot white balance
- AI denoise off
An example creative development, not a quality benchmark. Both sides come from the same unmodified RAW file.
The detail view uses the same 960 × 640 source-pixel rectangle on both sides, starting at (3024, 2016). Its display size adapts to your screen.
Local adjustments
Put the attention where it belongs.
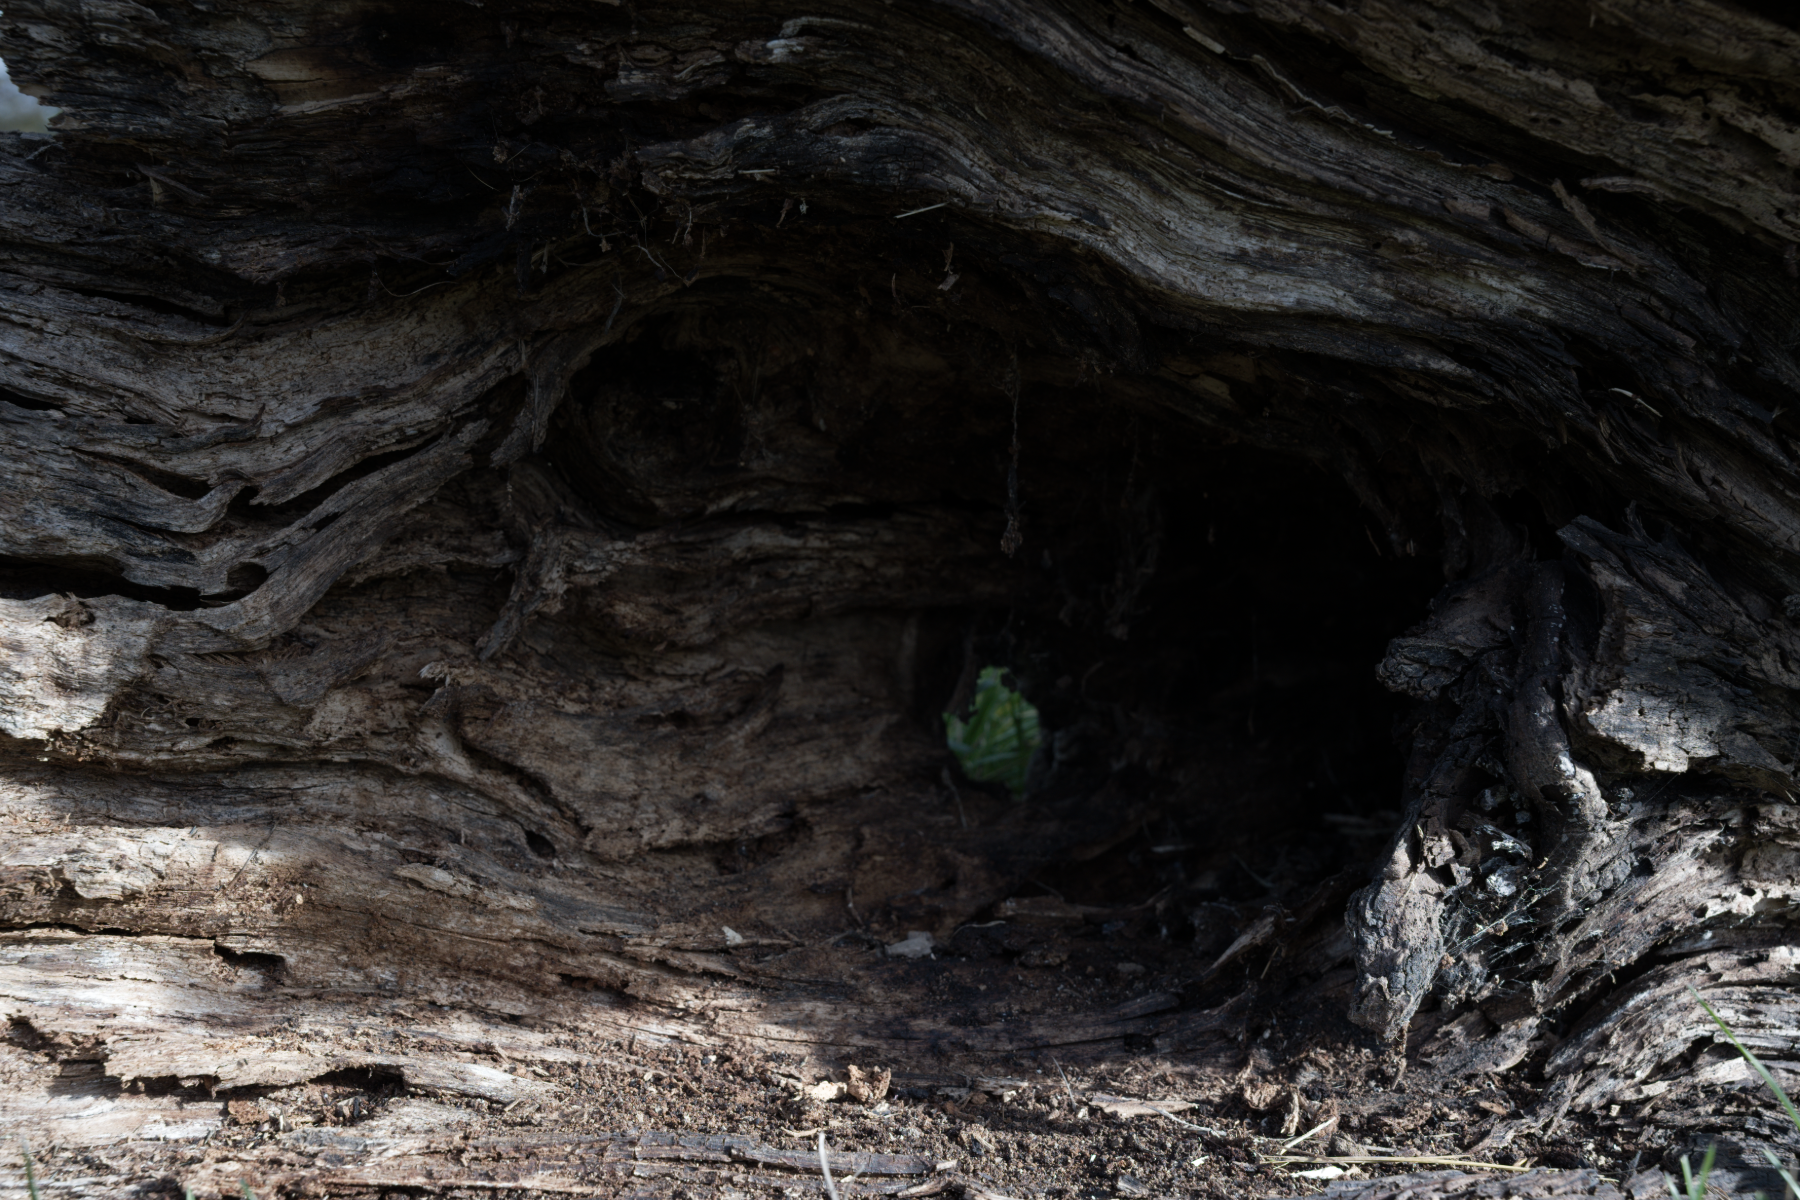
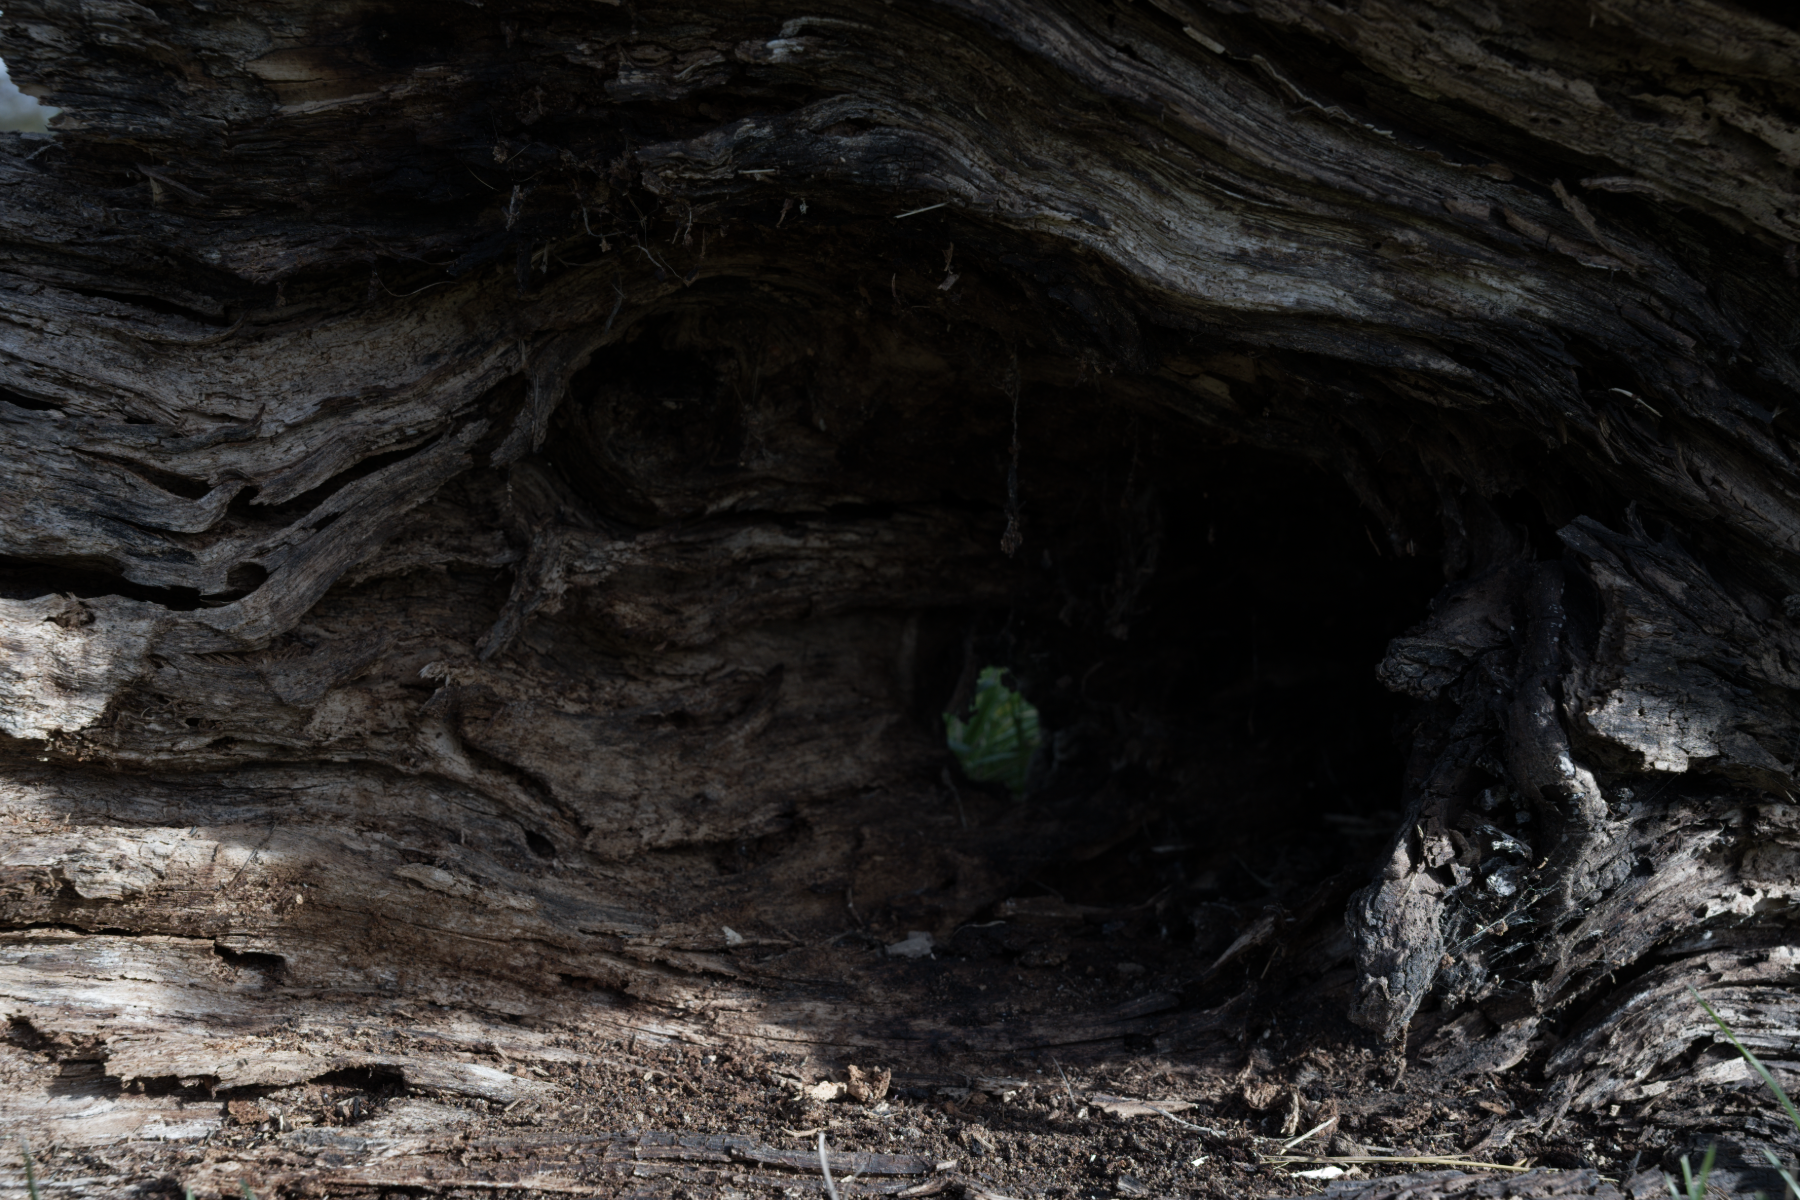
Capture & processing notes 1 source photograph · 960 × 640 detail crop
Before
- Default RAW development
- As-shot white balance
- AI denoise off
After
- Linear foreground gradient from (50%, 95%) to (50%, 25%) of the displayed image
- Local exposure +0.60 EV
- Local clarity +10
- Local vibrance +12
- Global development unchanged
The same photograph before and after a local foreground adjustment. The workspace screenshot shows the actual gradient and mask controls.
The detail view uses the same 960 × 640 source-pixel rectangle on both sides, starting at (1060, 3276). Its display size adapts to your screen.
Lens sharpening
Get to know your lens.
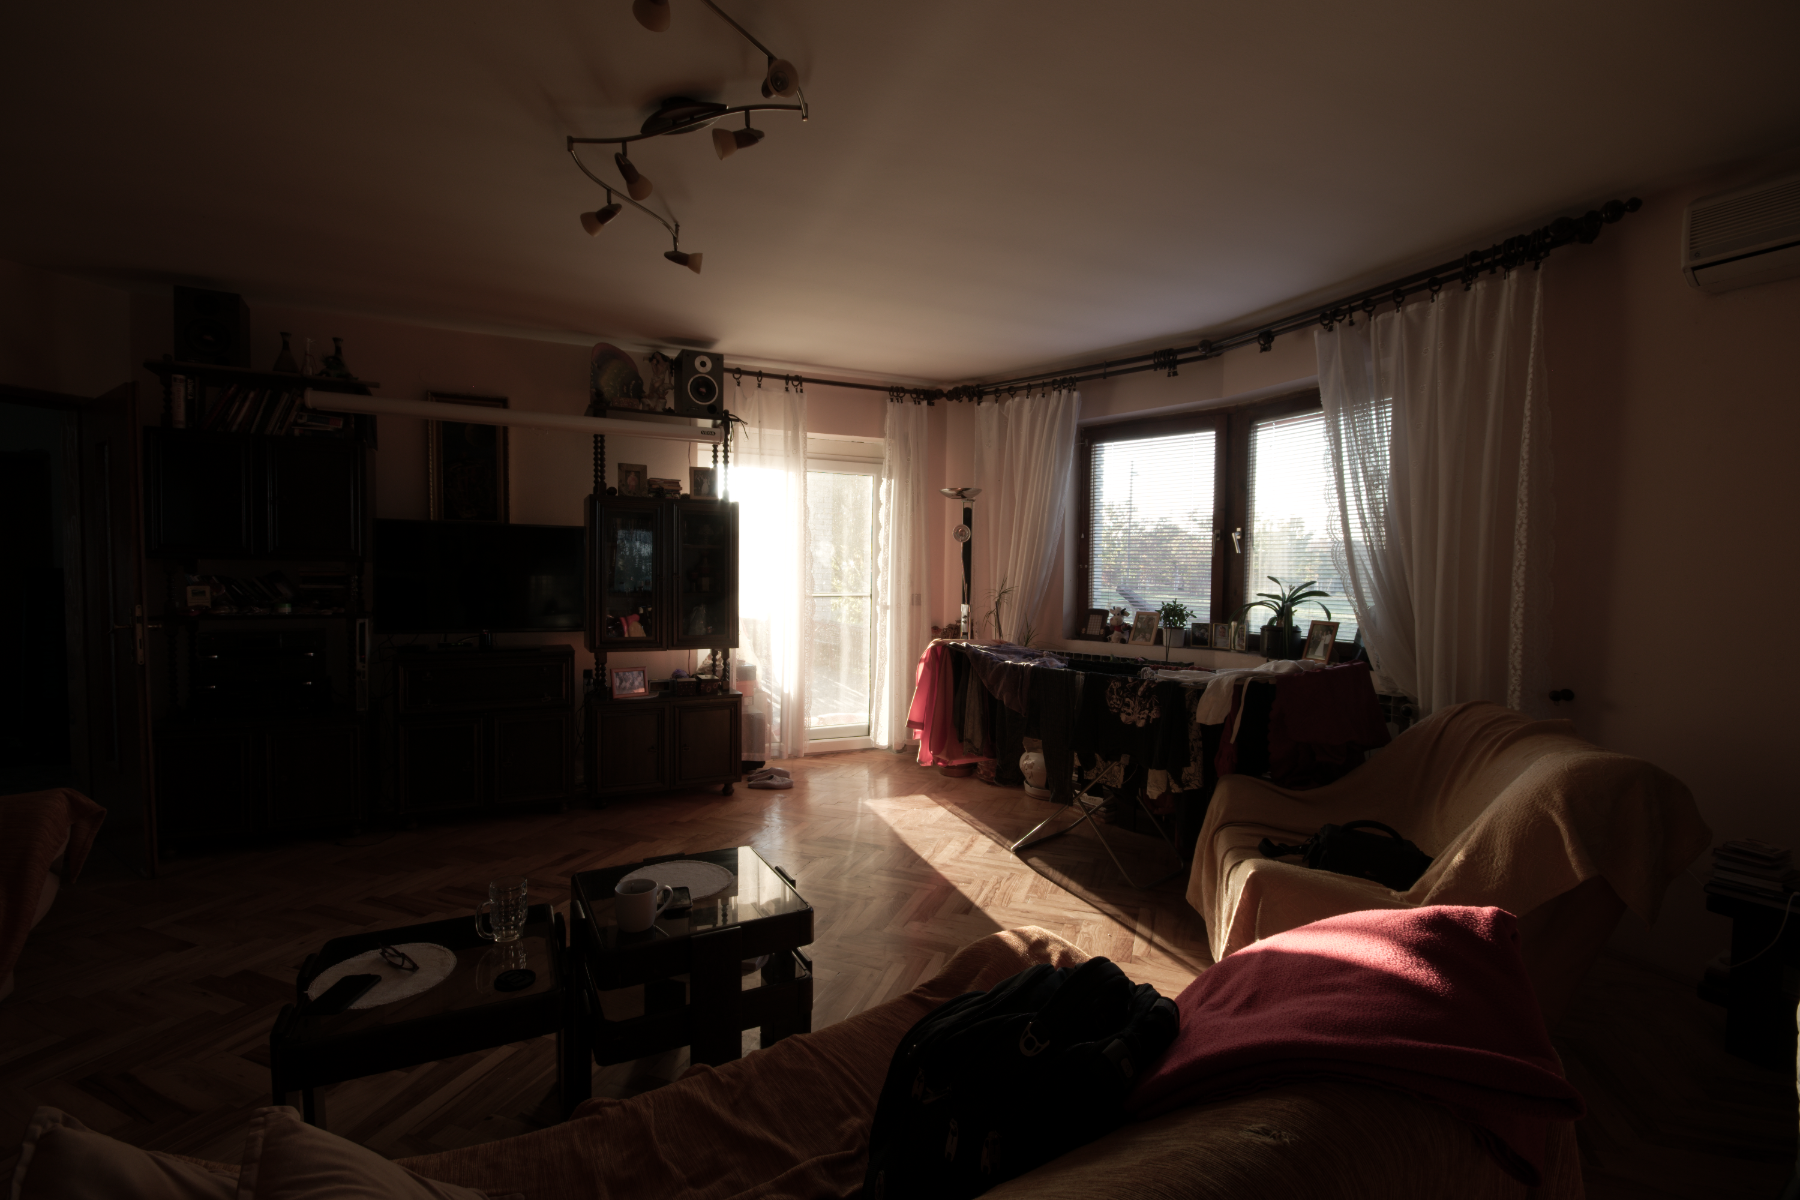
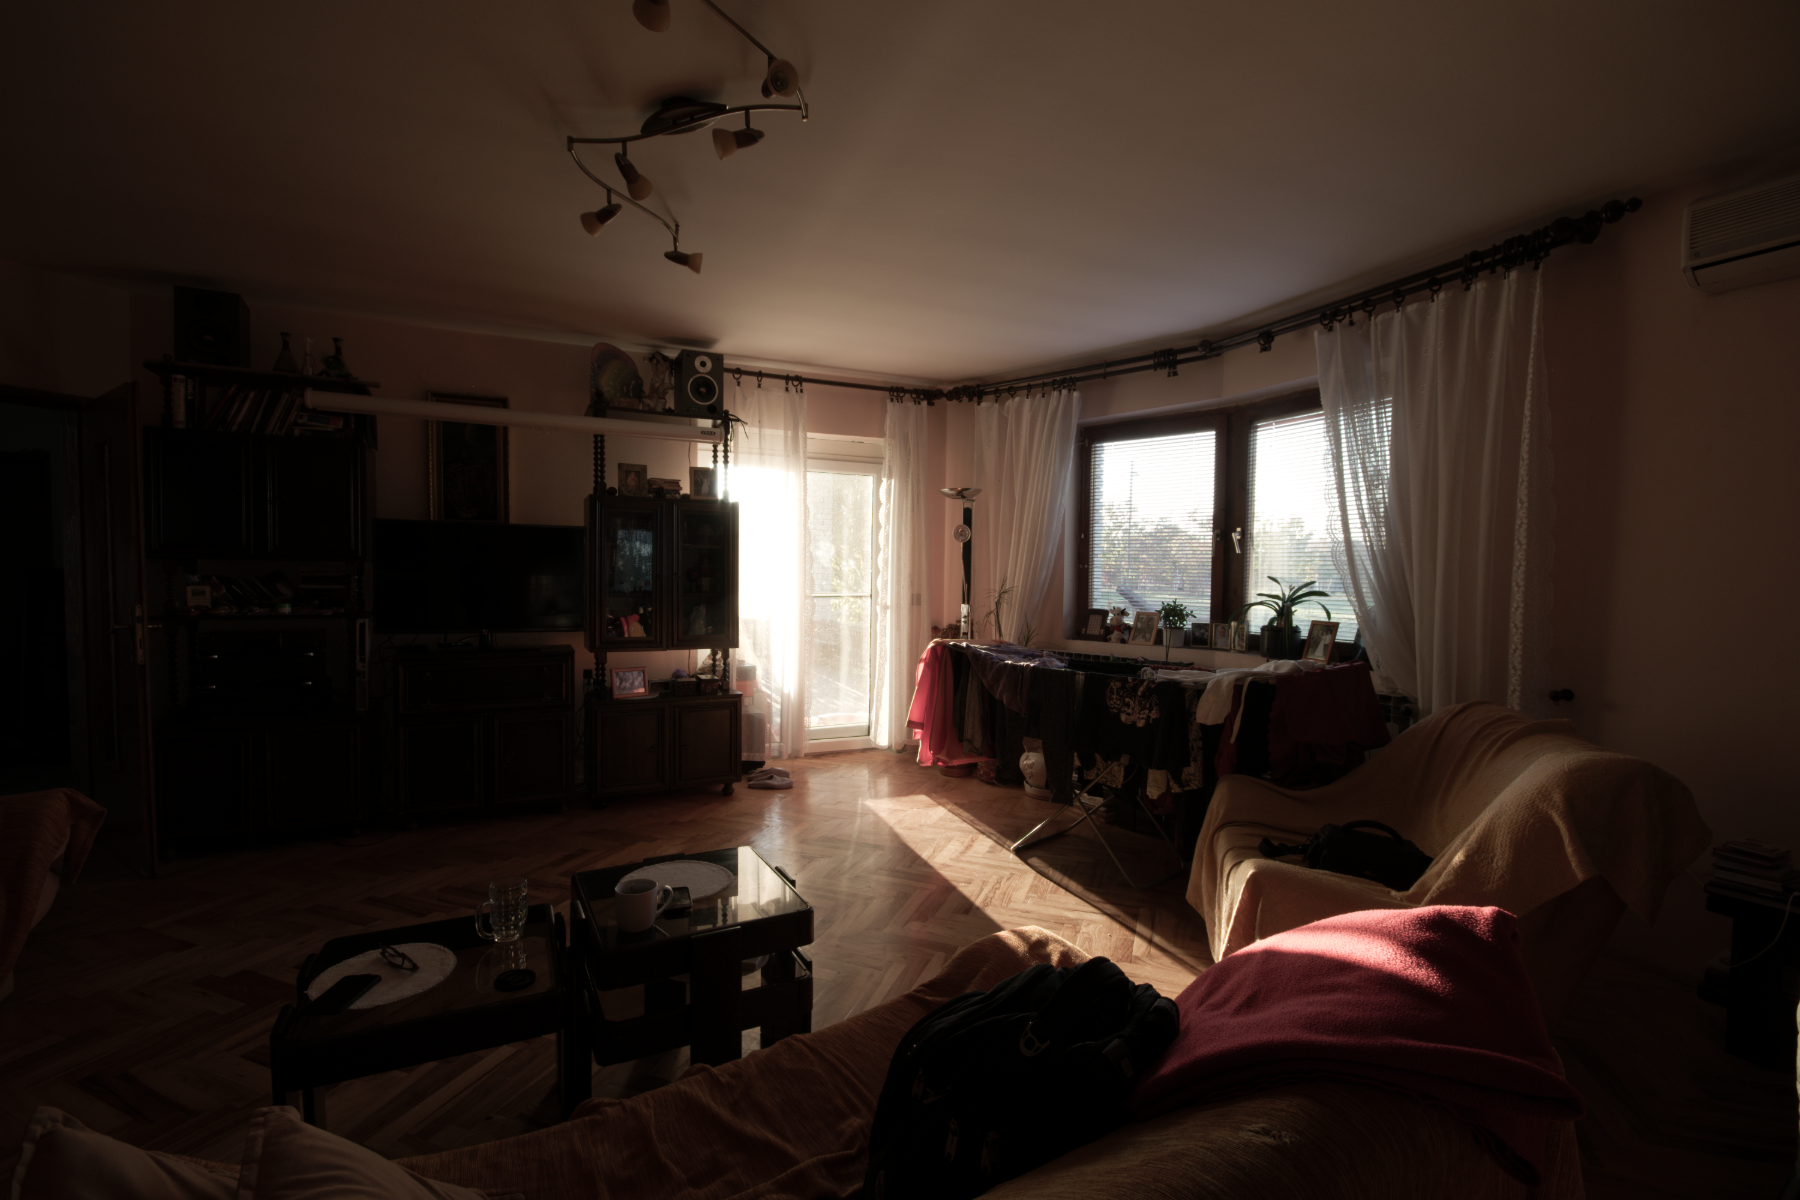
Capture & processing notes 1 source photograph · 960 × 640 detail crop
Before
- Default RAW development
- As-shot white balance
- AI denoise off
- Lens sharpness amount 0%
- Other sharpening and noise reduction off
After
- Photo profile fitted to 9 accepted real edge samples
- Lens sharpness amount 75%
- Other sharpening and noise reduction off
The profile was measured from this photograph using Phorevia's photo-calibration workflow. It can include focus and motion softness; it is not a claim of chart-measured lens performance.
The detail view uses the same 960 × 640 source-pixel rectangle on both sides, starting at (2520, 1680). Its display size adapts to your screen.
Make it your own
The best test is your photograph.
Explore every feature for 14 days. No card needed.