
Merge exposure brackets
Combine compatible photographs captured at different exposures to make use of information from the darker and brighter frames.
HDR merge
Bright windows, deep shade and changing light can ask too much of one exposure. Align a bracketed sequence, merge it, then shape the result with the same development tools you use for a single photograph.
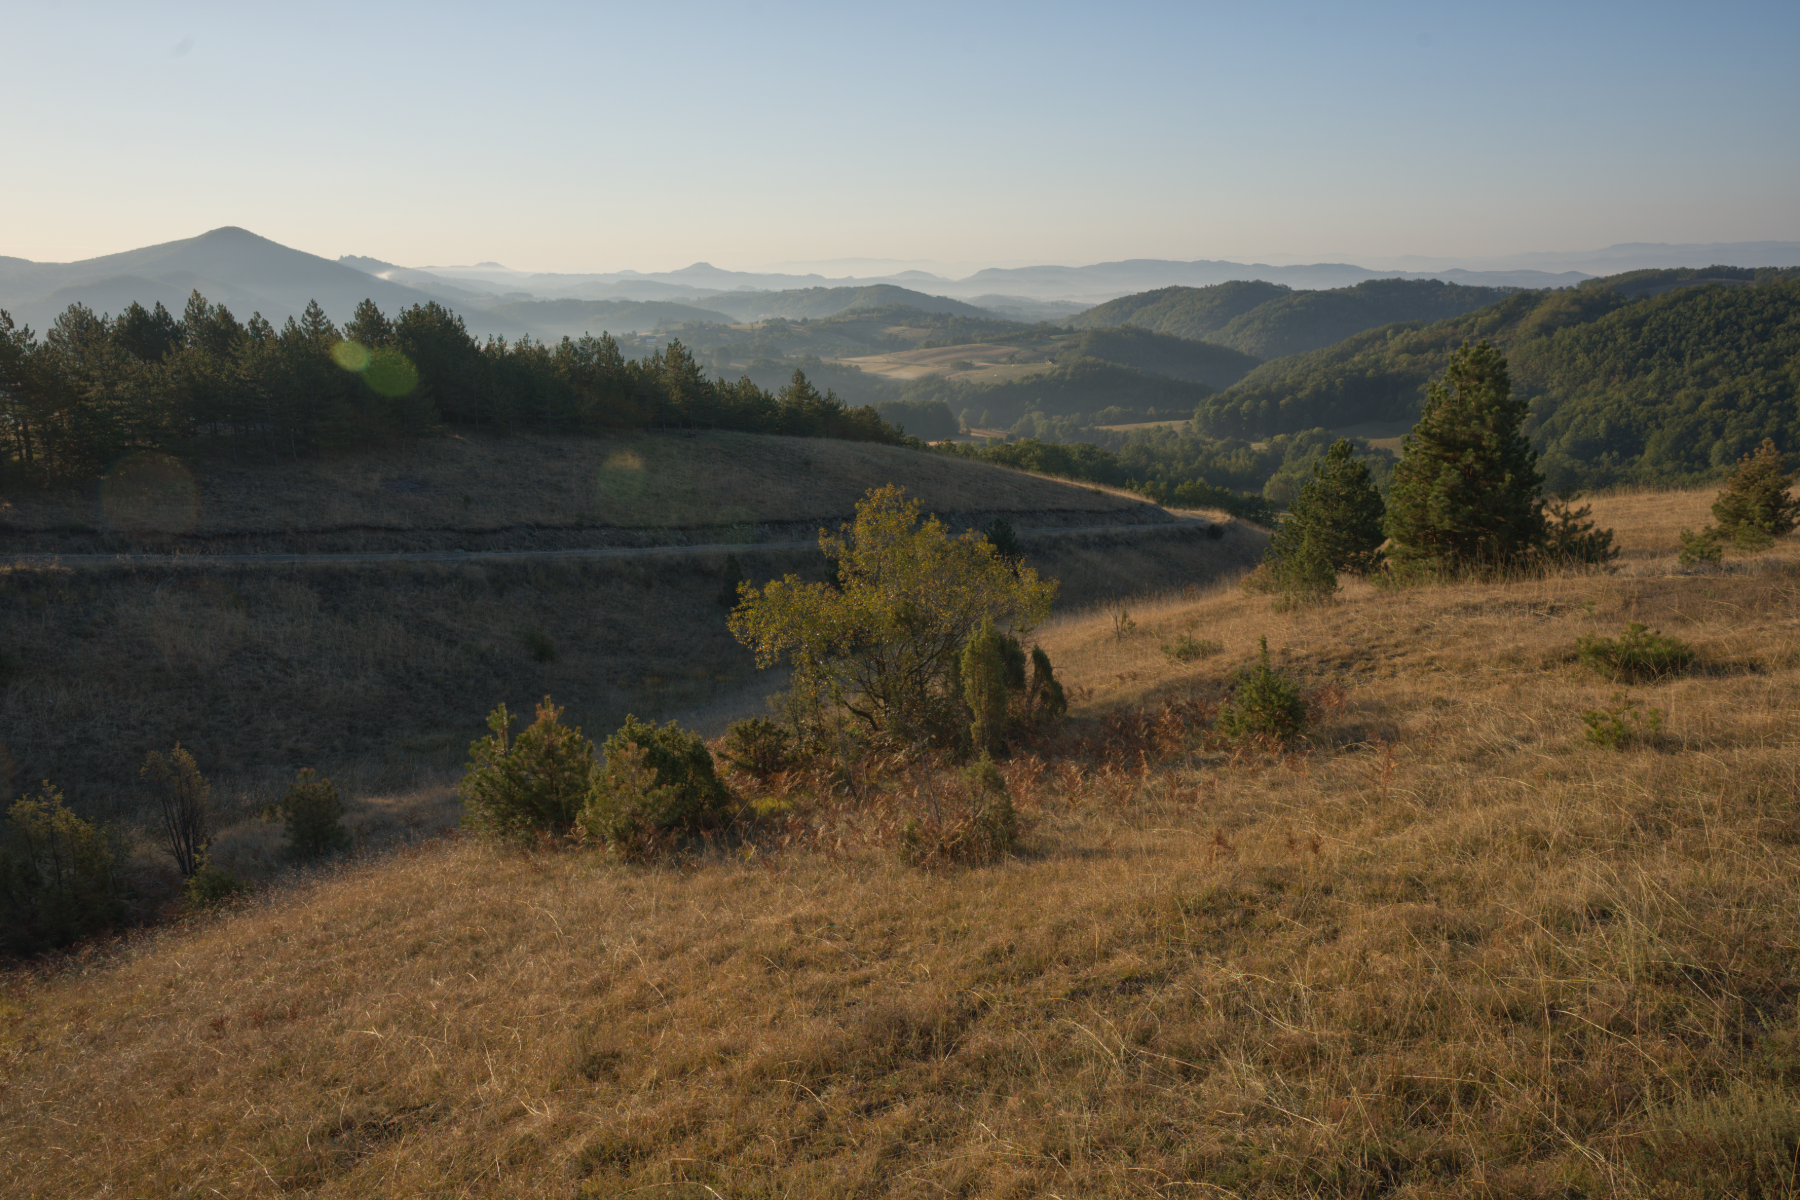
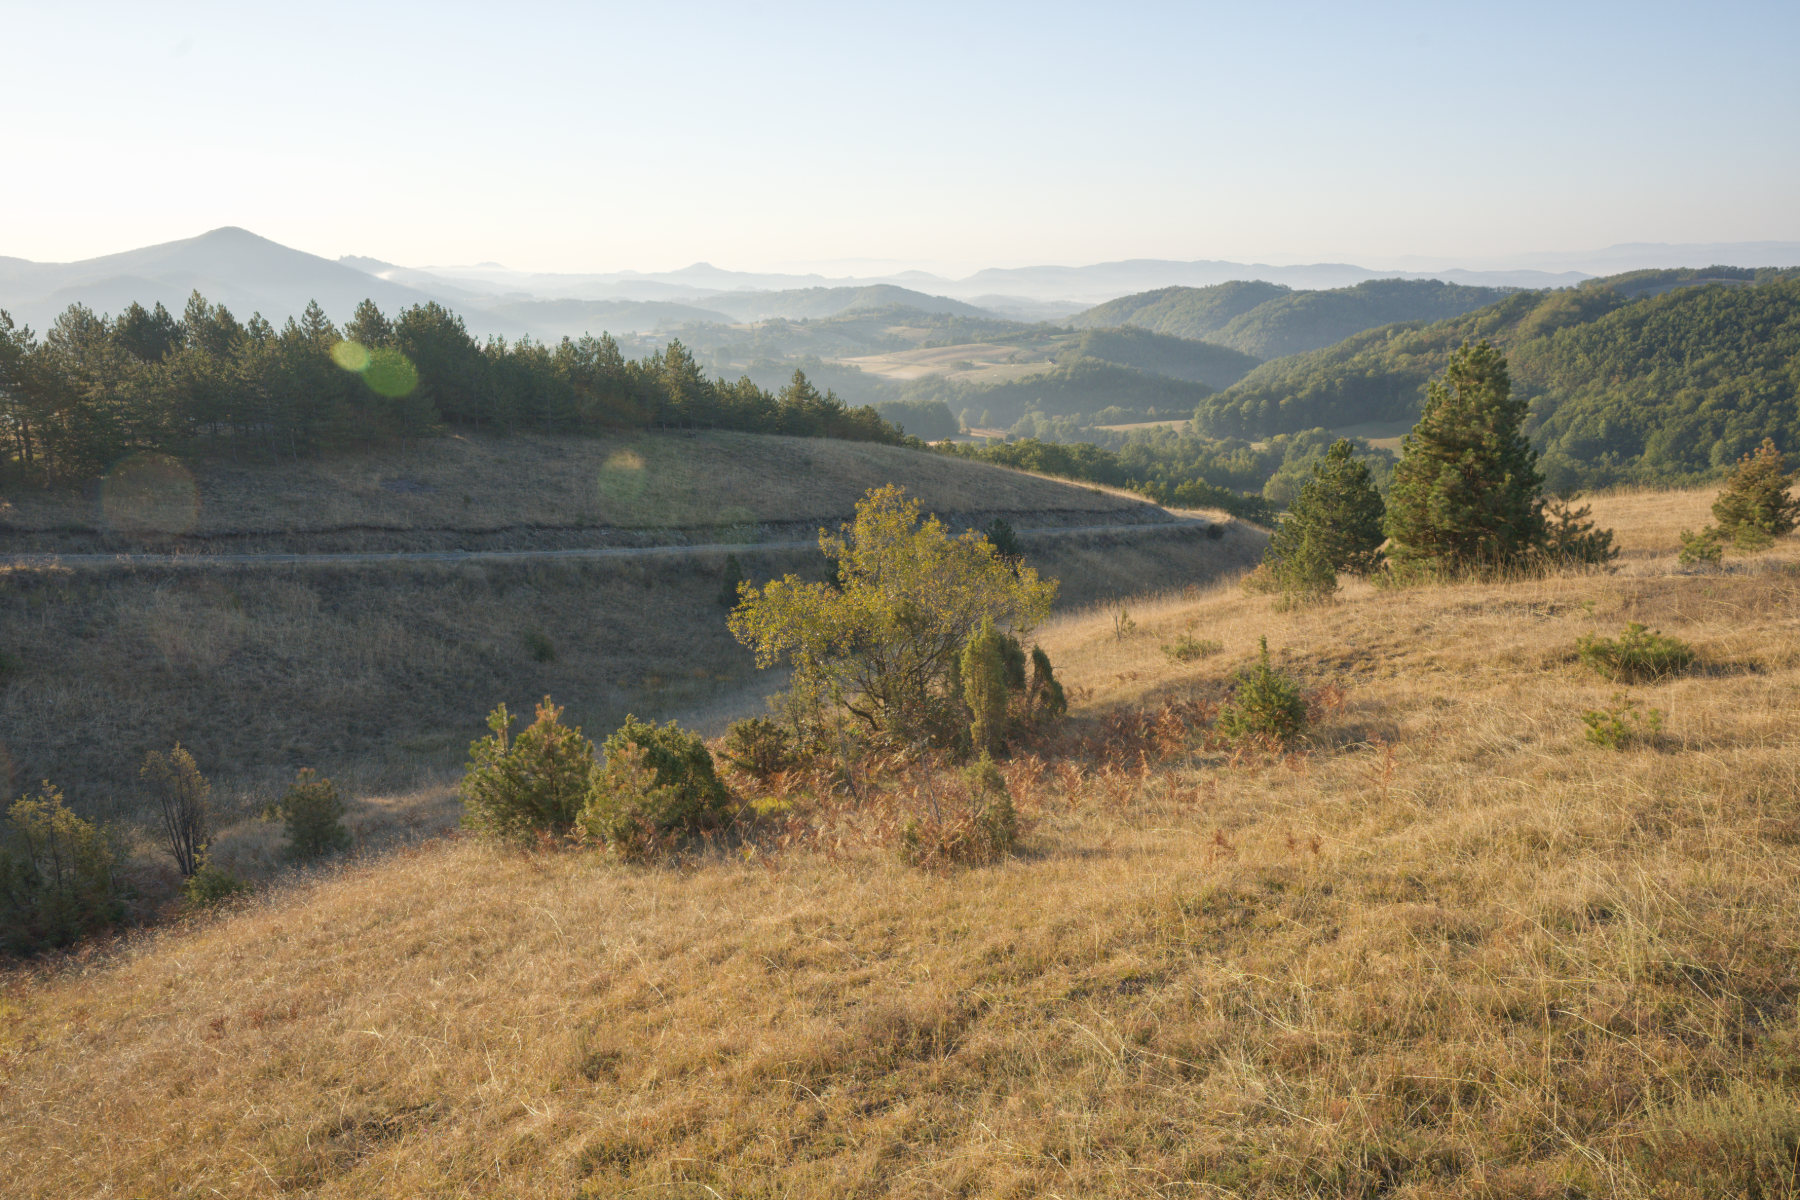
The same HDR tone controls are applied to the reference exposure and the merged result. The inputs are real bracketed captures, not simulated exposures.
The detail view uses the same 960 × 640 source-pixel rectangle on both sides, starting at (3024, 2016). Its display size adapts to your screen.
A closer look
Combine compatible photographs captured at different exposures to make use of information from the darker and brighter frames.
Align the sequence before combining it. As with any multi-frame technique, moving subjects and large changes between frames need careful inspection.
Adjust exposure, white balance, tone and colour on the merged image. Choose the rendering that suits the scene instead of committing to a fixed HDR look.
Check bright transitions and dark texture. Keep the source frames available so you can compare the merge with the actual exposures.
Inside Phorevia
The actual desktop workspace, with the photograph and tools used for this example.
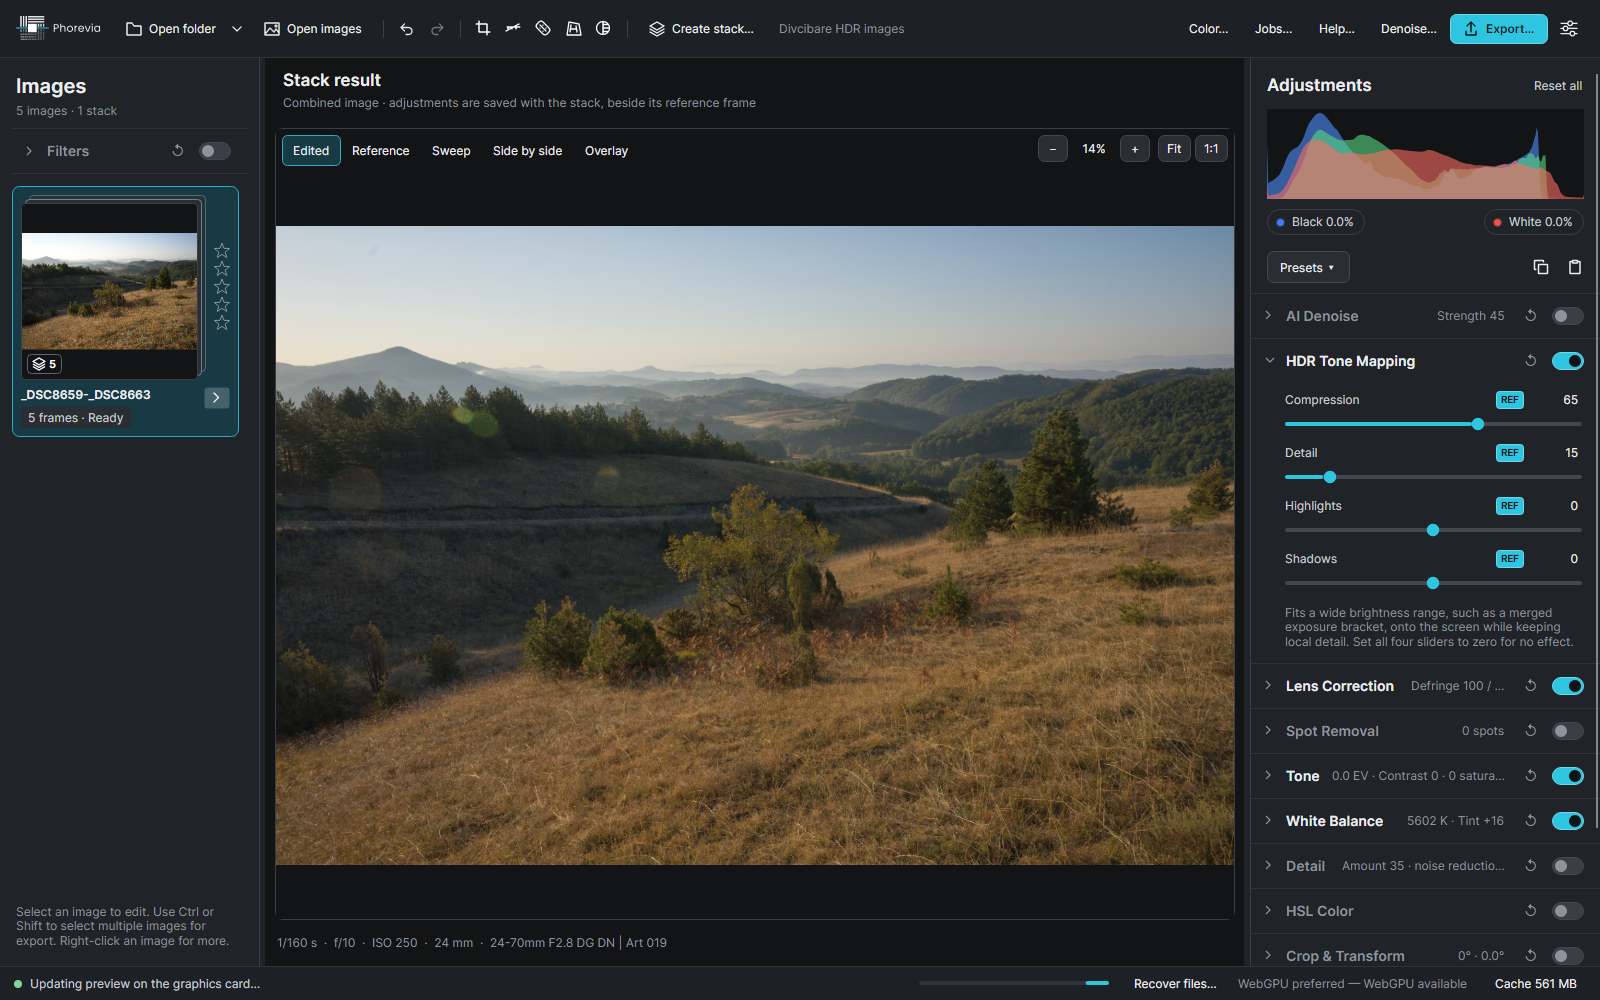
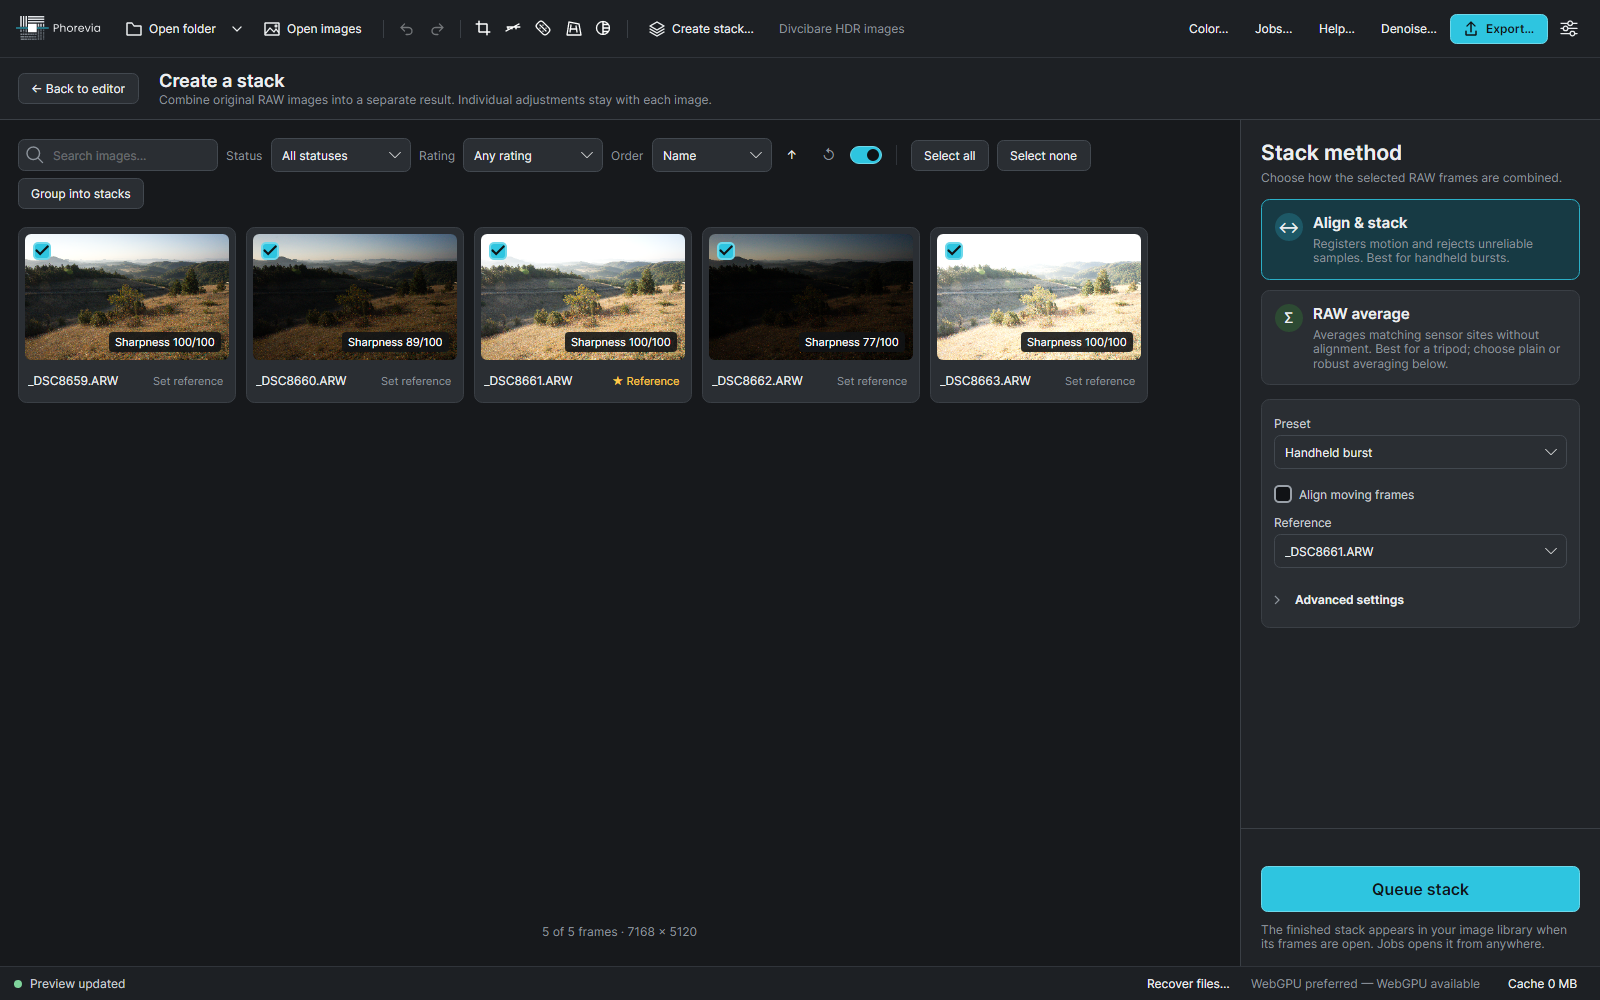
Select a compatible sequence captured at different exposures.
Use HDR merging to align and combine the sequence.
Develop the combined image and inspect highlights, shadows and movement.
Keep exploring
Make it your own
Explore every feature for 14 days. No card needed.