
Paint with a brush
Control brush size, feather, flow and density. Add to or erase from a mask as you refine the selection.
Local adjustments
Lift a subject, soften a distracting area or balance the sky. Build an editable mask and adjust just the part of the photograph that needs attention.
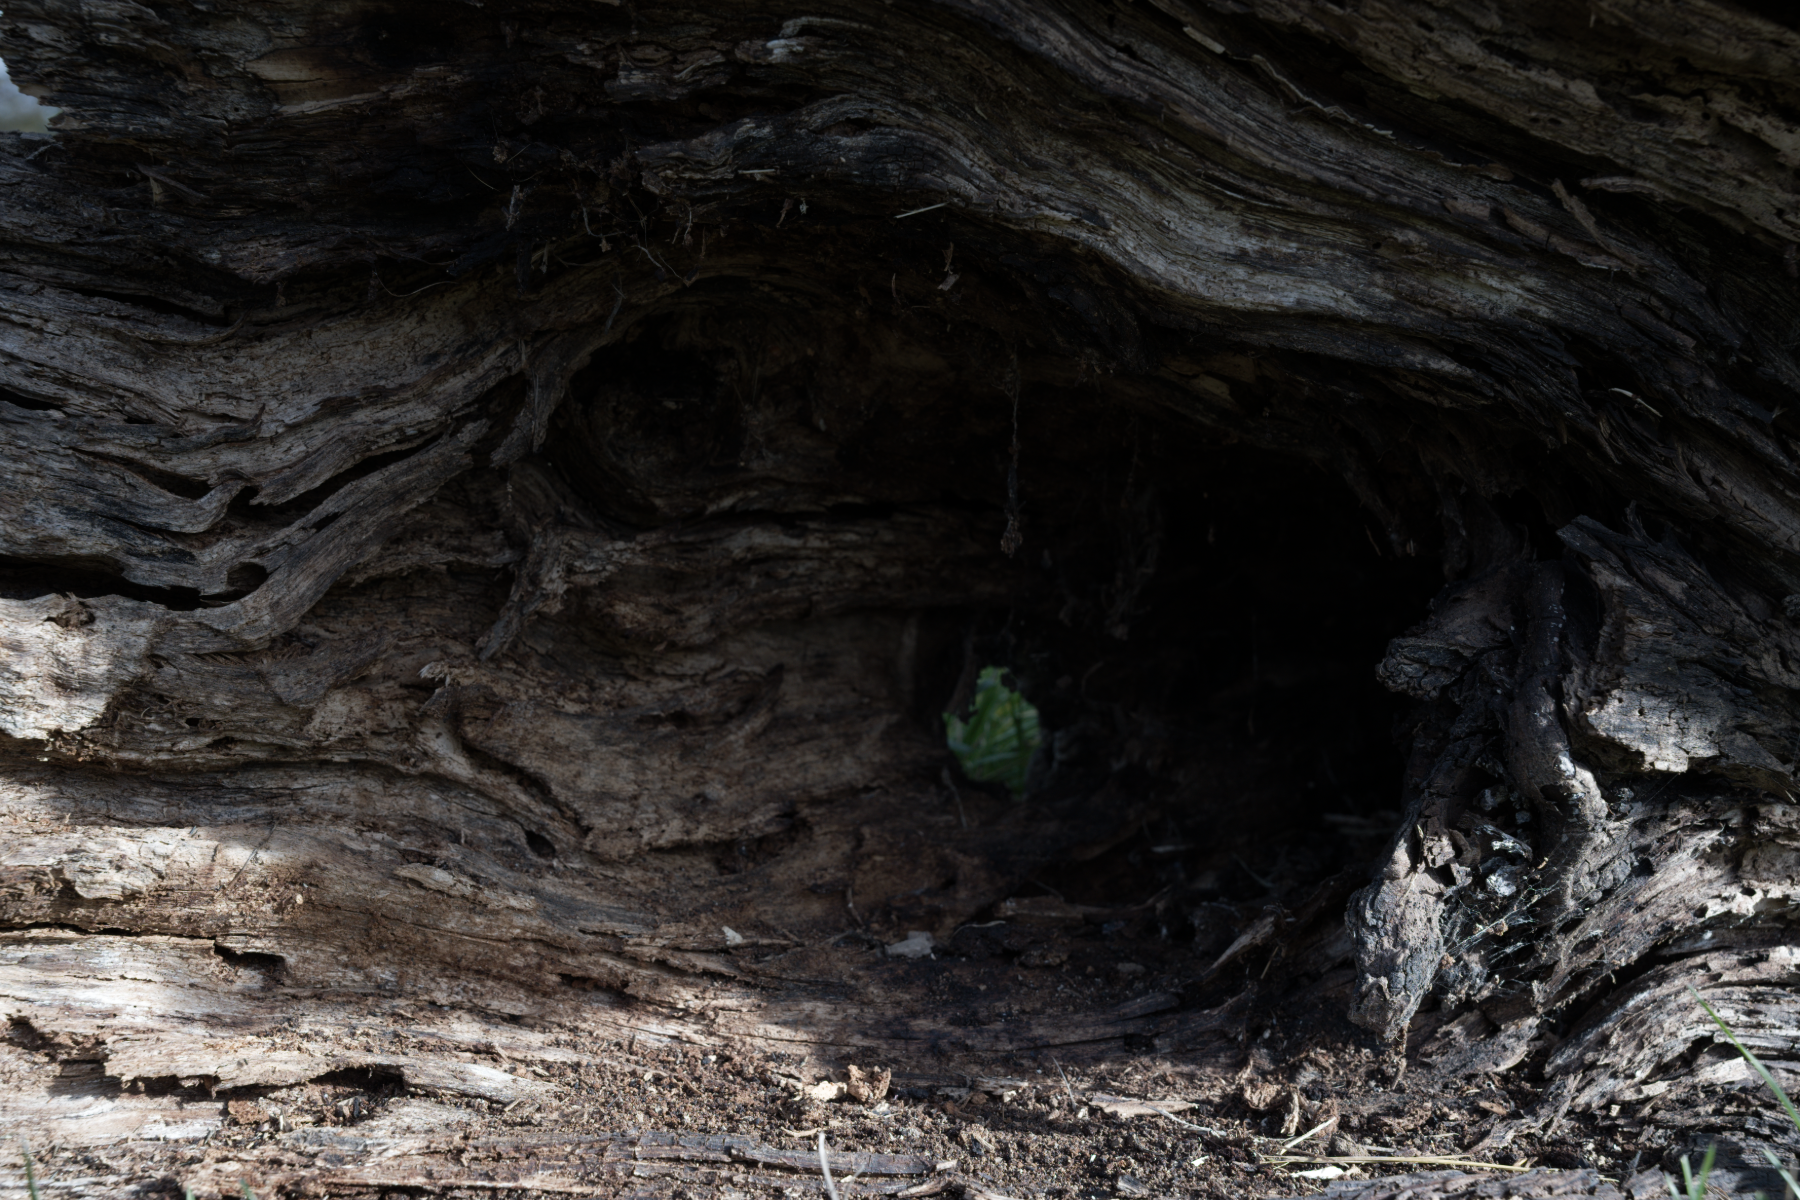
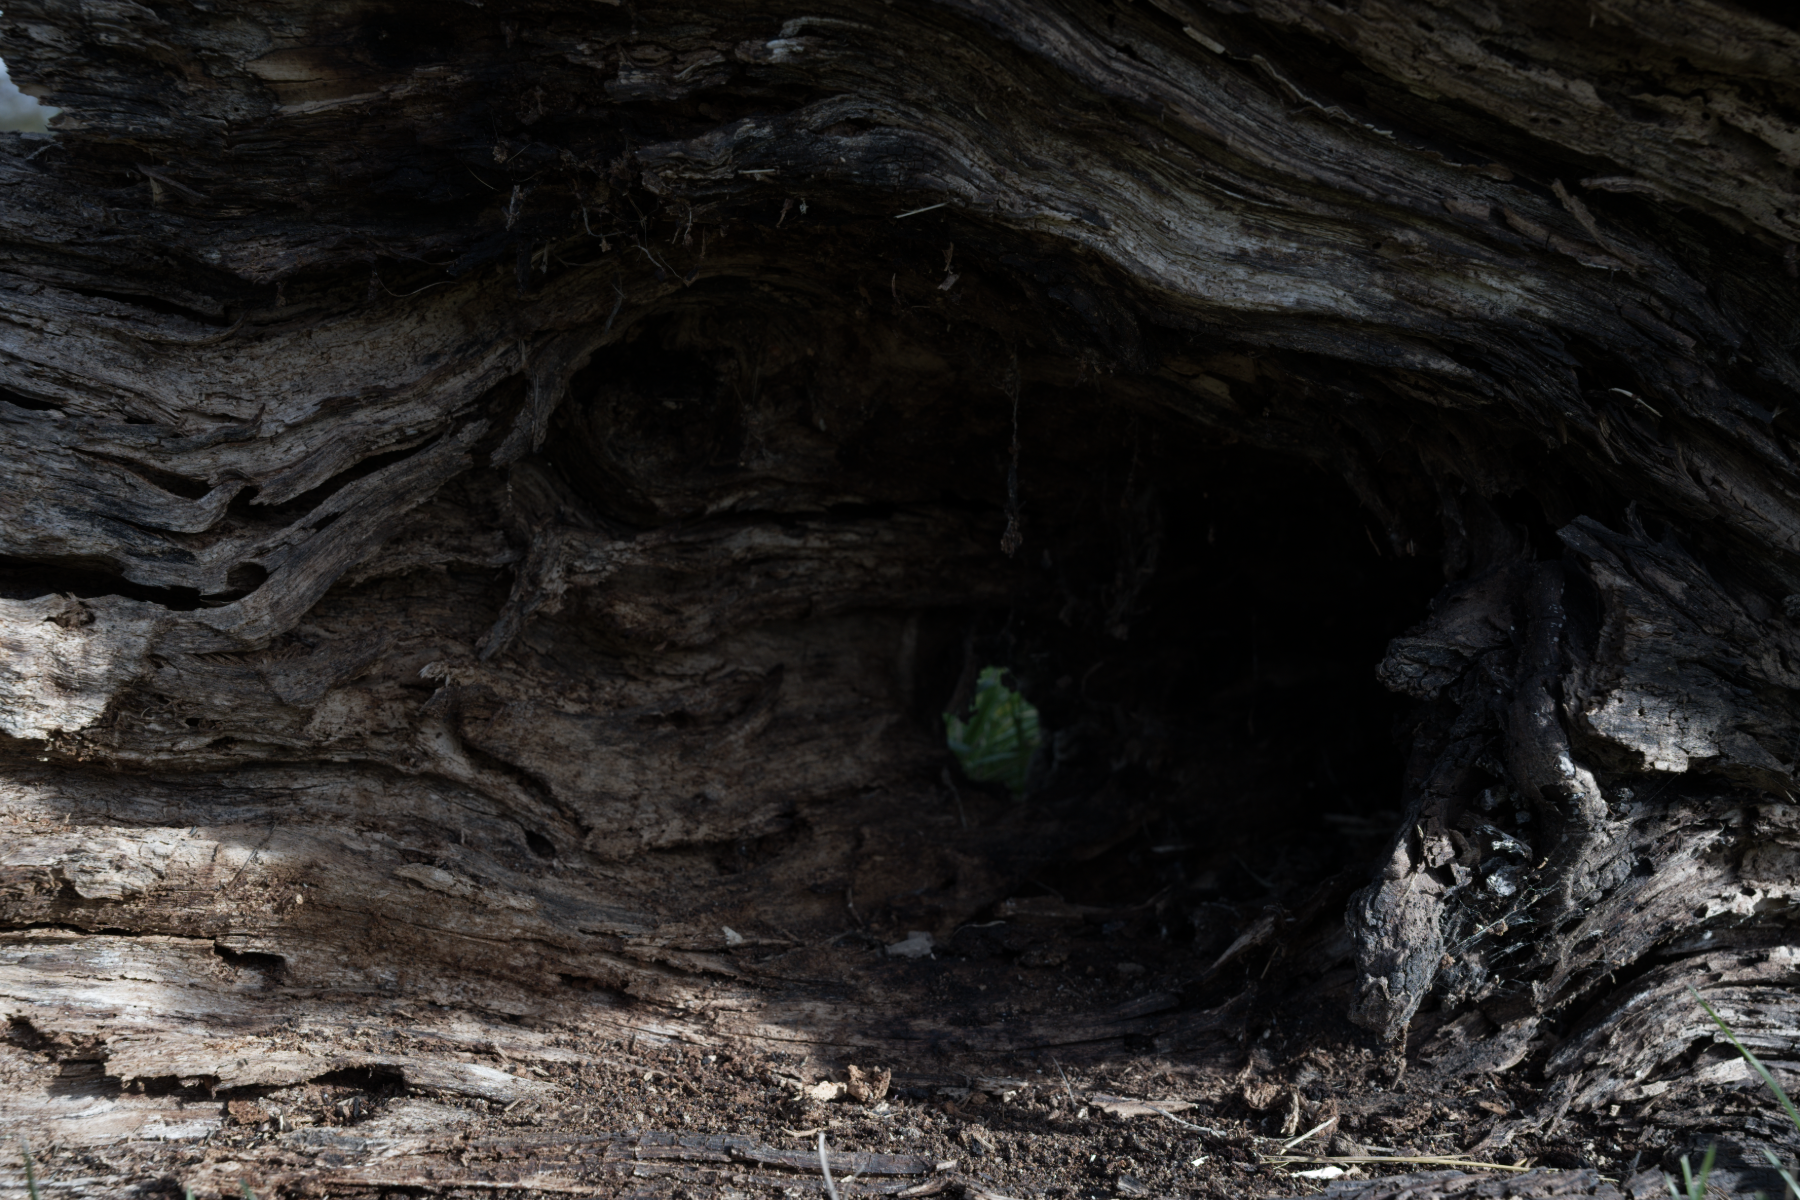
The same photograph before and after a local foreground adjustment. The workspace screenshot shows the actual gradient and mask controls.
The detail view uses the same 960 × 640 source-pixel rectangle on both sides, starting at (1060, 3276). Its display size adapts to your screen.
A closer look
Control brush size, feather, flow and density. Add to or erase from a mask as you refine the selection.
Use a linear gradient for a broad transition or a radial gradient for a shaped adjustment around a subject.
Use colour and luminance ranges when the area you want to adjust is defined by its appearance.
Refine the mask and its local adjustments, inspect its overlay and use undo as you work. Your source photograph remains unchanged.
Inside Phorevia
The actual desktop workspace, with the photograph and tools used for this example.
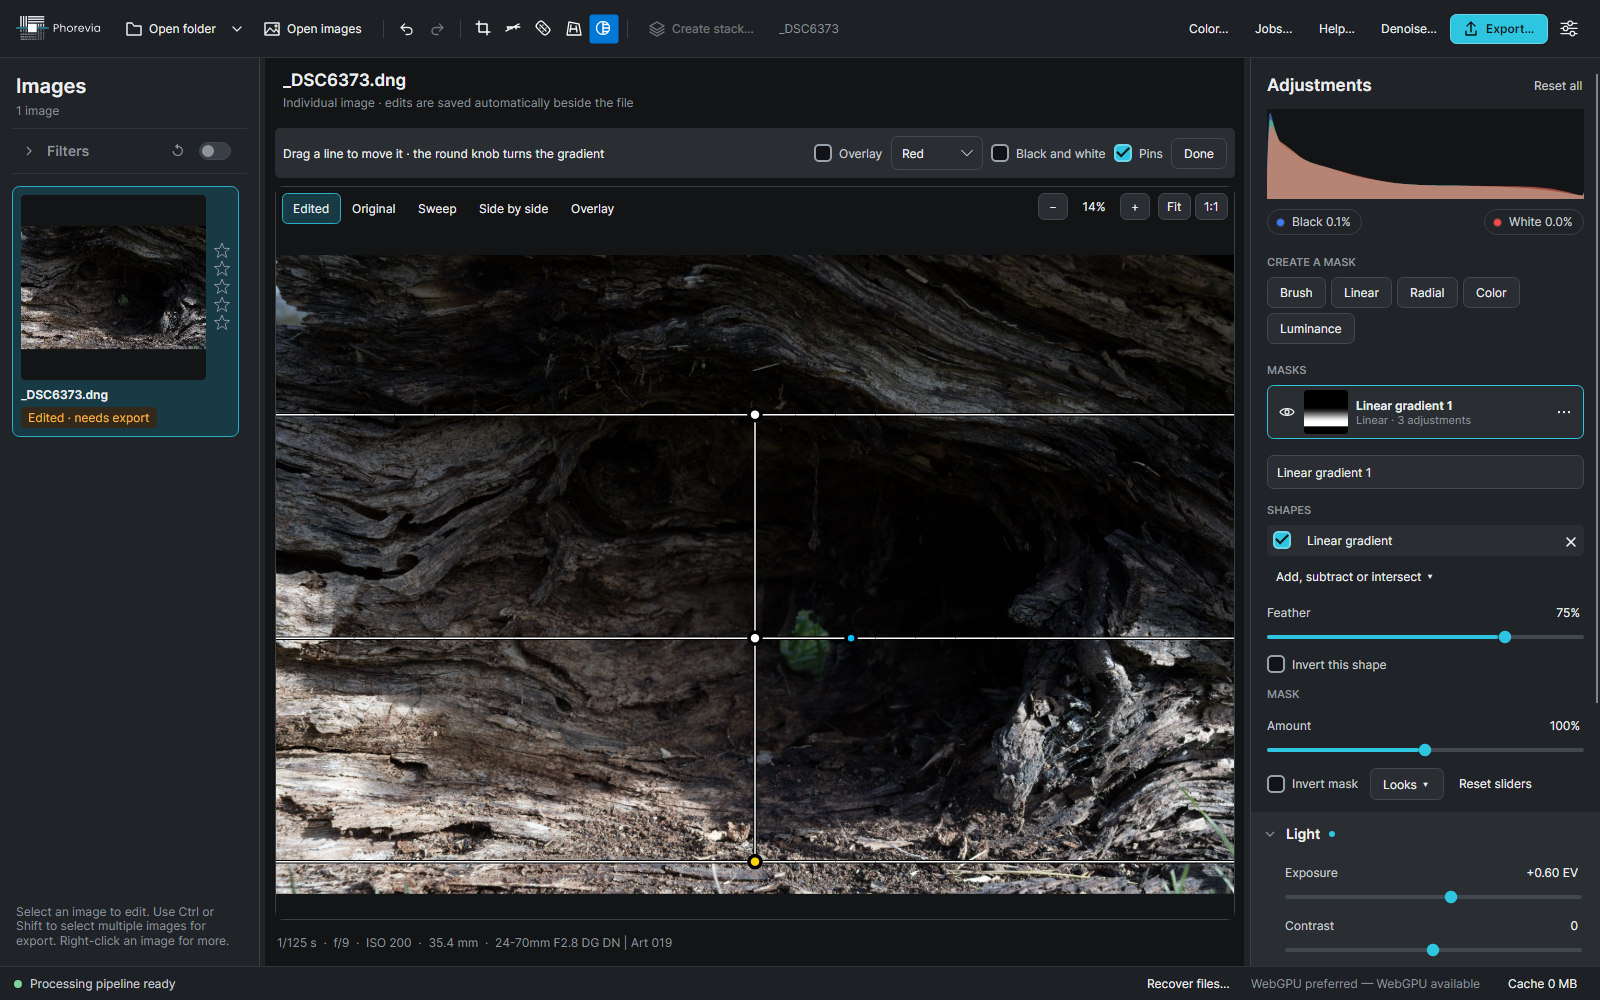
Add a brush, gradient, colour or luminance mask.
Inspect the overlay and adjust its shape and transition.
Change the selected area's appearance and compare it with the global edit.
Keep exploring
Make it your own
Explore every feature for 14 days. No card needed.