Automatic alignment
Align handheld captures before combining them. Dense alignment follows differences across the image rather than assuming every part moved by the same amount.
Burst stacking
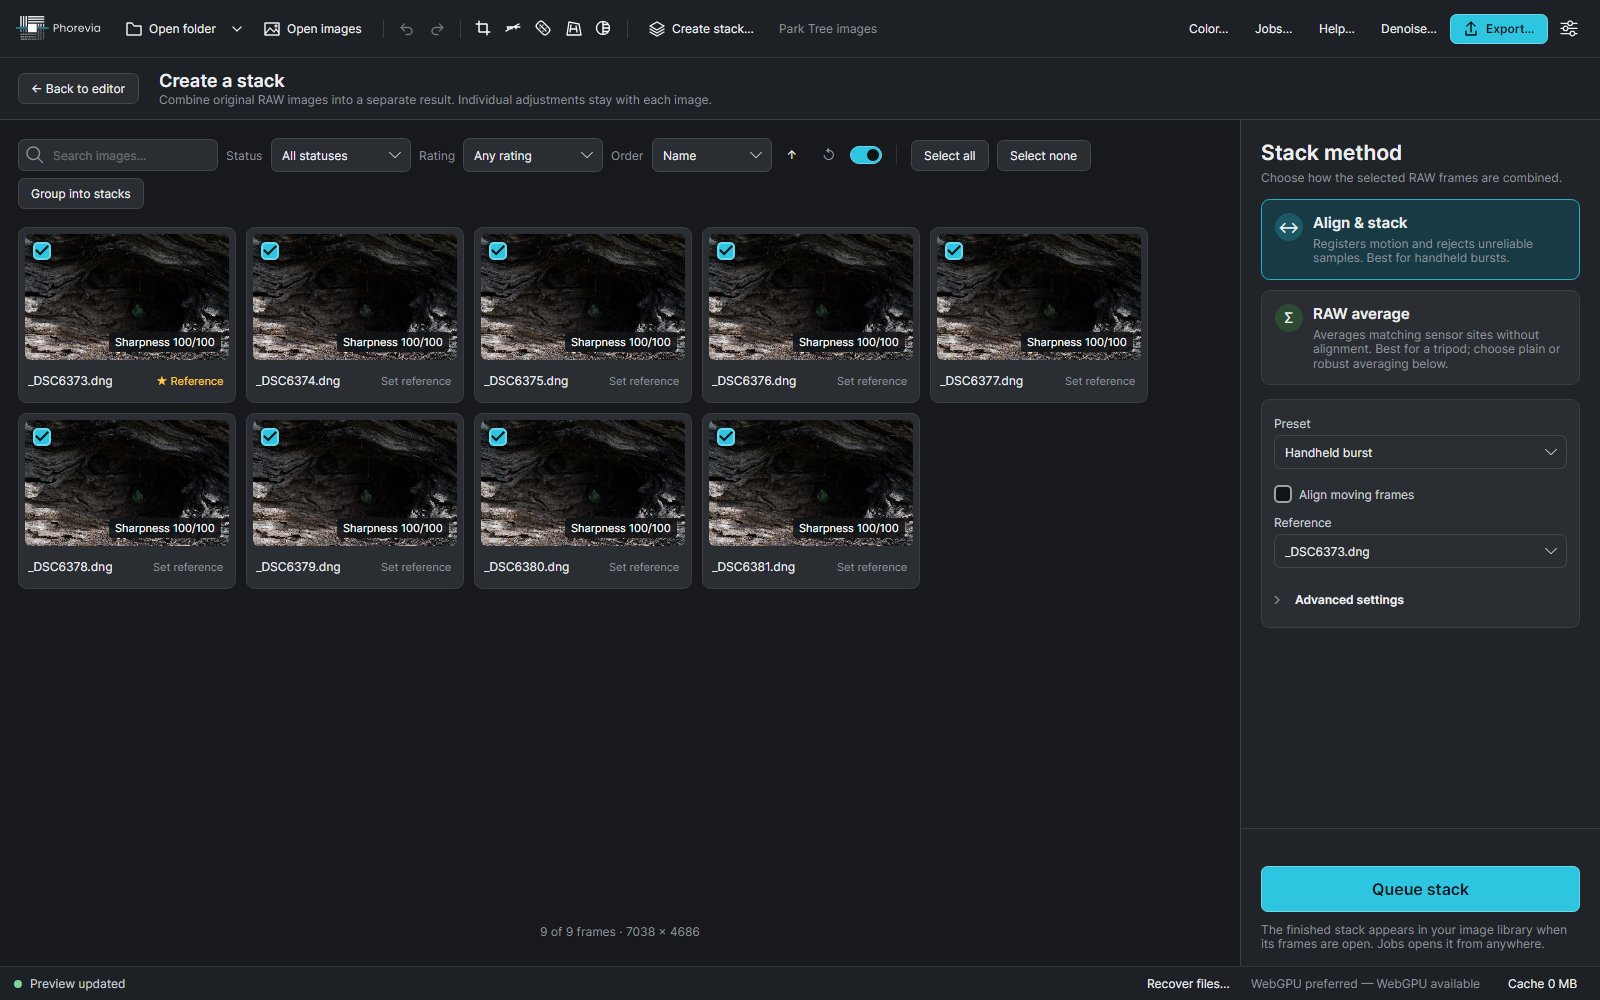
A steady hand is helpful. A tripod is not always possible. Phorevia aligns compatible frames, combines their RAW data and uses motion-aware rejection to limit the contribution of frames that do not agree.
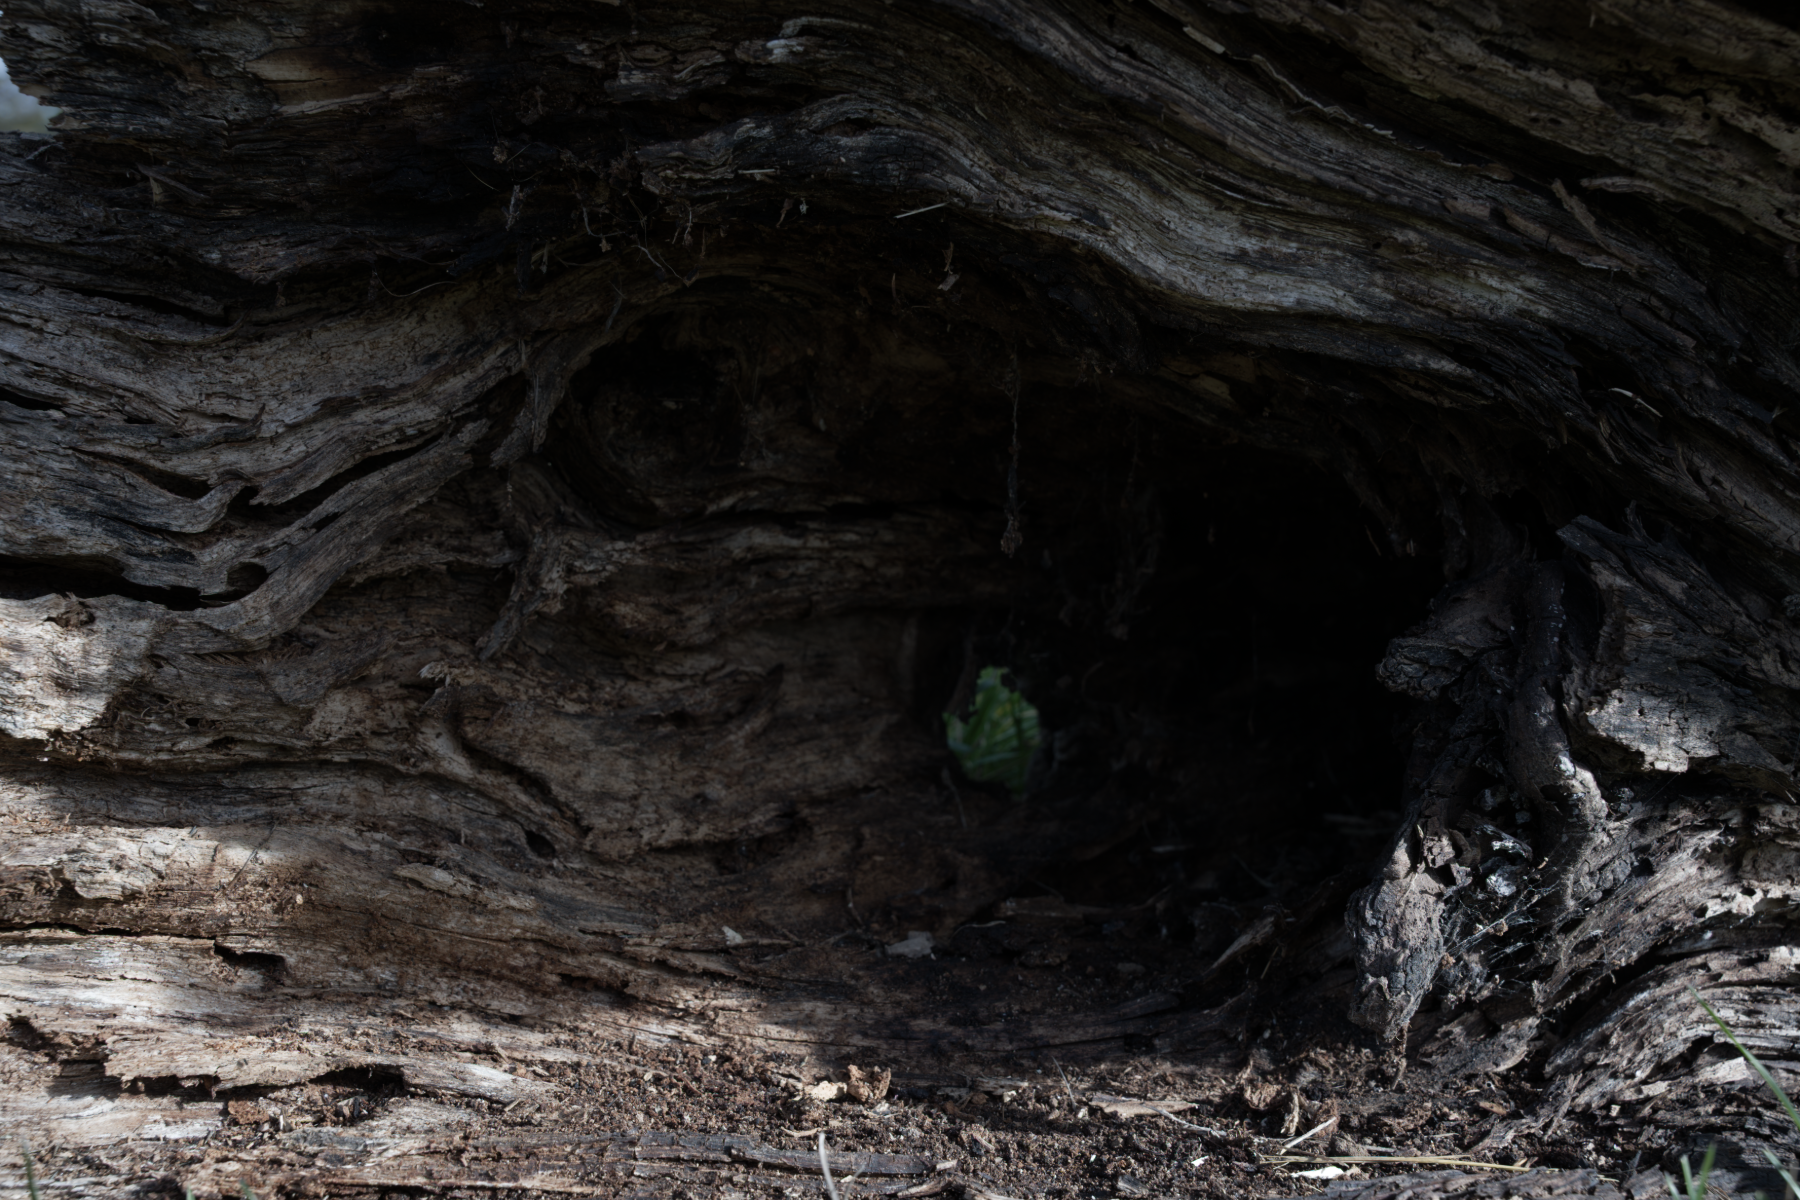
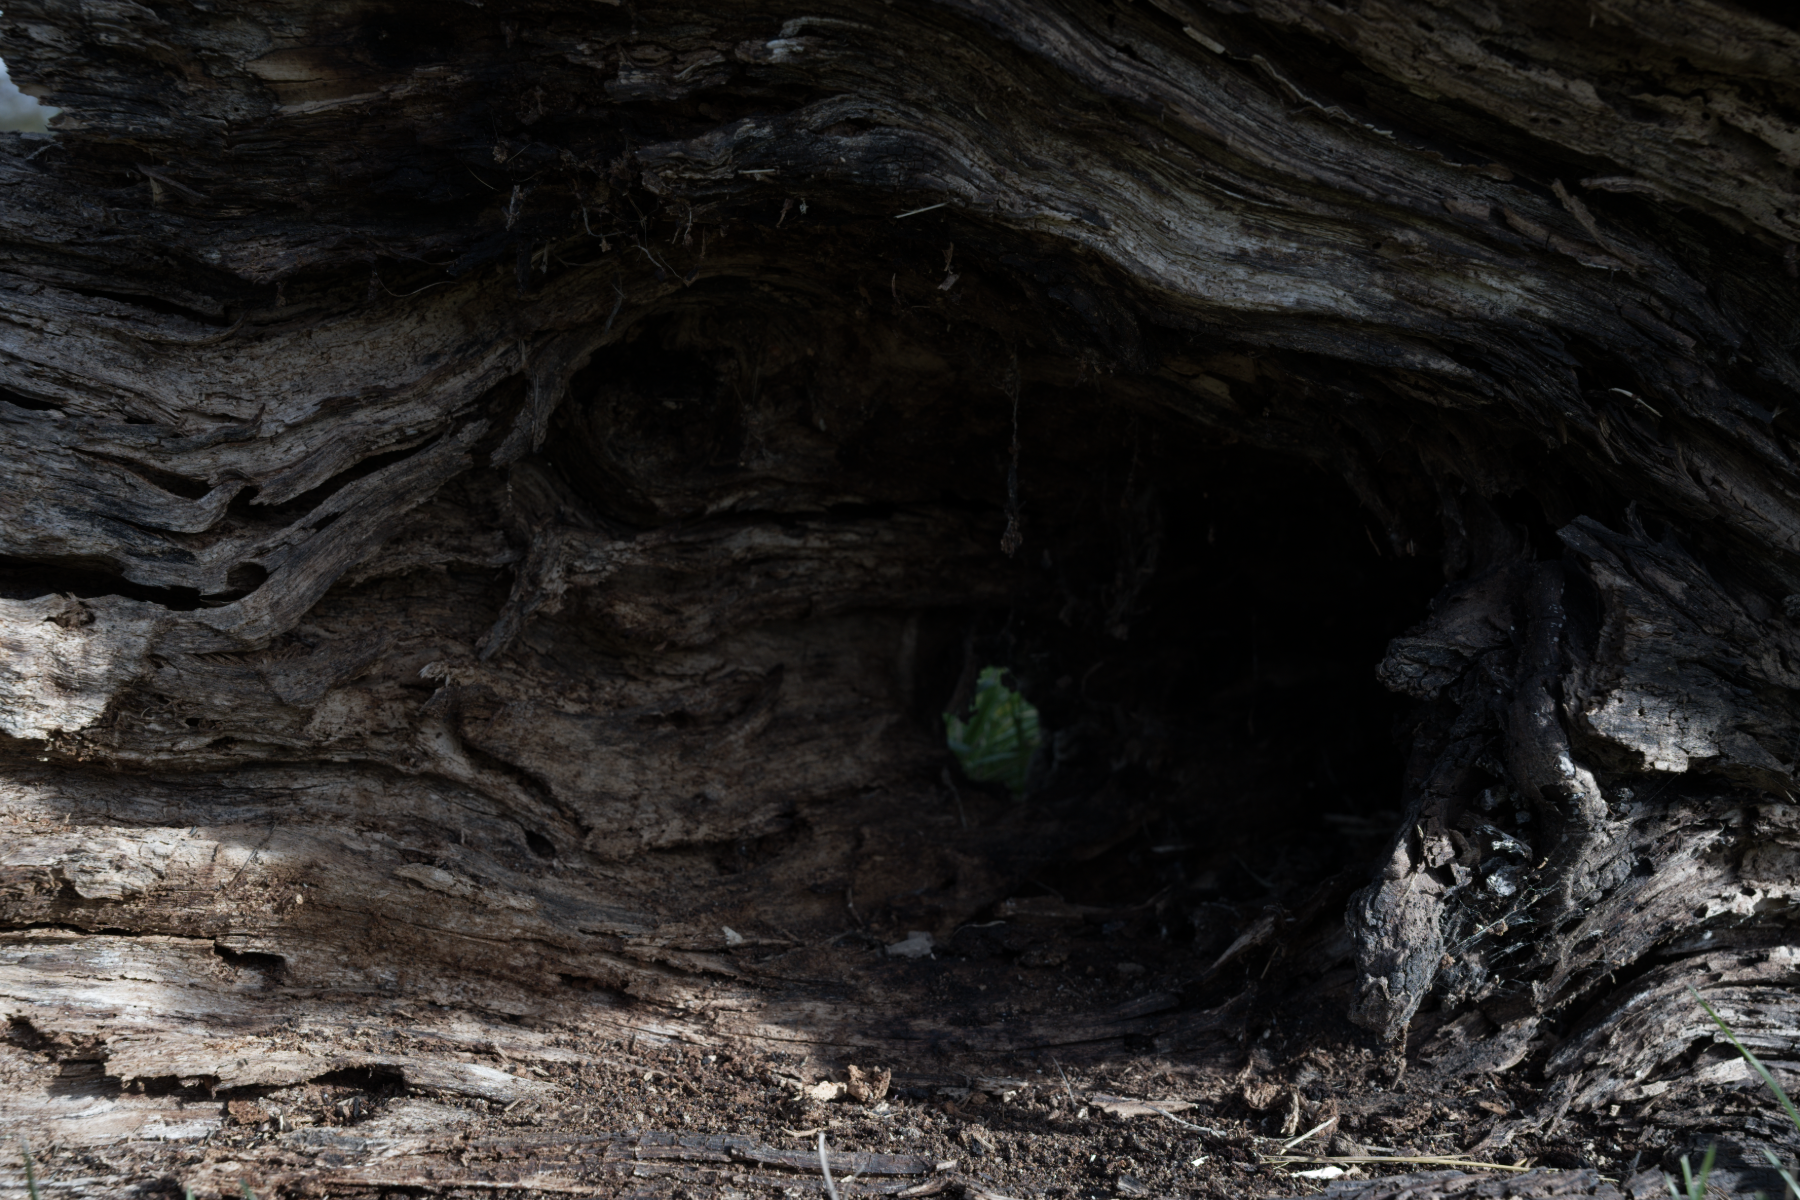
The reference frame and stack use the same development. No extra noise or blur was added to the source.
The detail view uses the same 960 × 640 source-pixel rectangle on both sides, starting at (1060, 3276). Its display size adapts to your screen.
A closer look
Align handheld captures before combining them. Dense alignment follows differences across the image rather than assuming every part moved by the same amount.
Movement and inconsistent samples contribute less to the result. Inspect moving foliage and subject boundaries as well as stationary texture; difficult movement can still limit the benefit of stacking.
Use aligned stacking for a handheld burst, or RAW averaging for compatible frames that already line up. Keep the individual sources available alongside the stack.
Select the stack result to adjust light, colour and detail, then export. Saved stack edits retain the relationship to the source frames.
Inside Phorevia
The actual desktop workspace, with the photograph and tools used for this example.
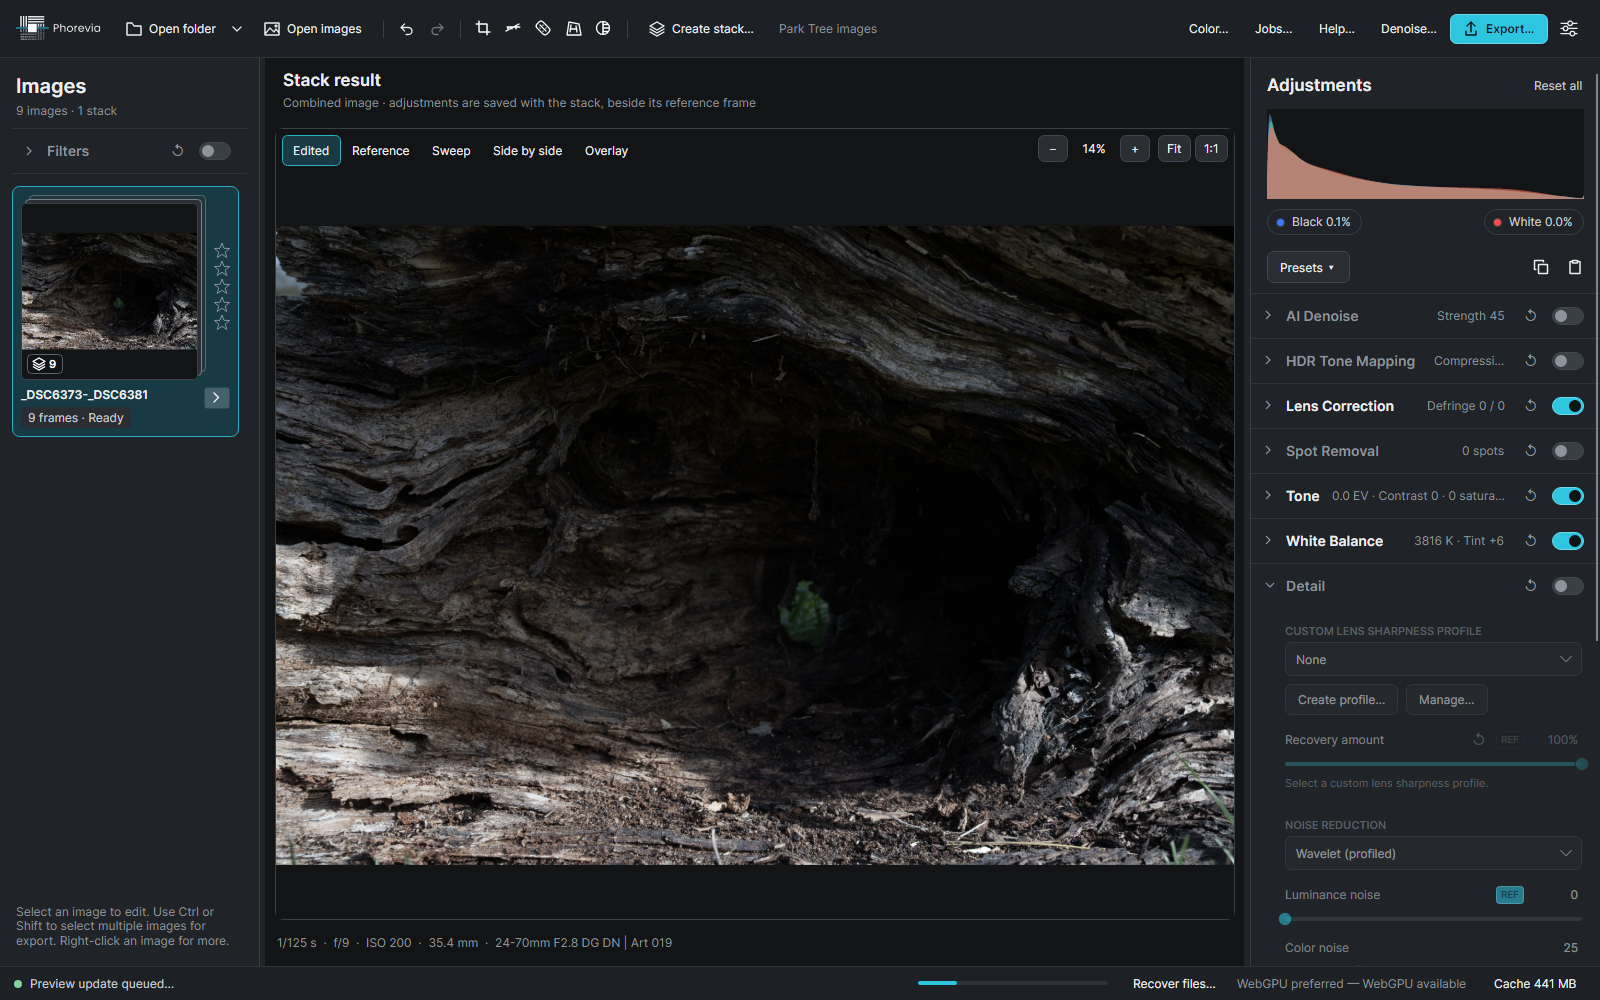
Open your photographs and choose compatible frames in Create stack.
Choose the stacking method and build the combined image.
Check detail and moving areas, develop the stack result, then export.
Keep exploring
Make it your own
Explore every feature for 14 days. No card needed.