
Light and tone
Adjust exposure, highlights, shadows and tone curves. Refine the tonal balance without rewriting the source image.
RAW development
Start with one photograph or a combined result. Phorevia brings light, colour and detail controls into a non-destructive workspace, with edits saved separately from your original image.
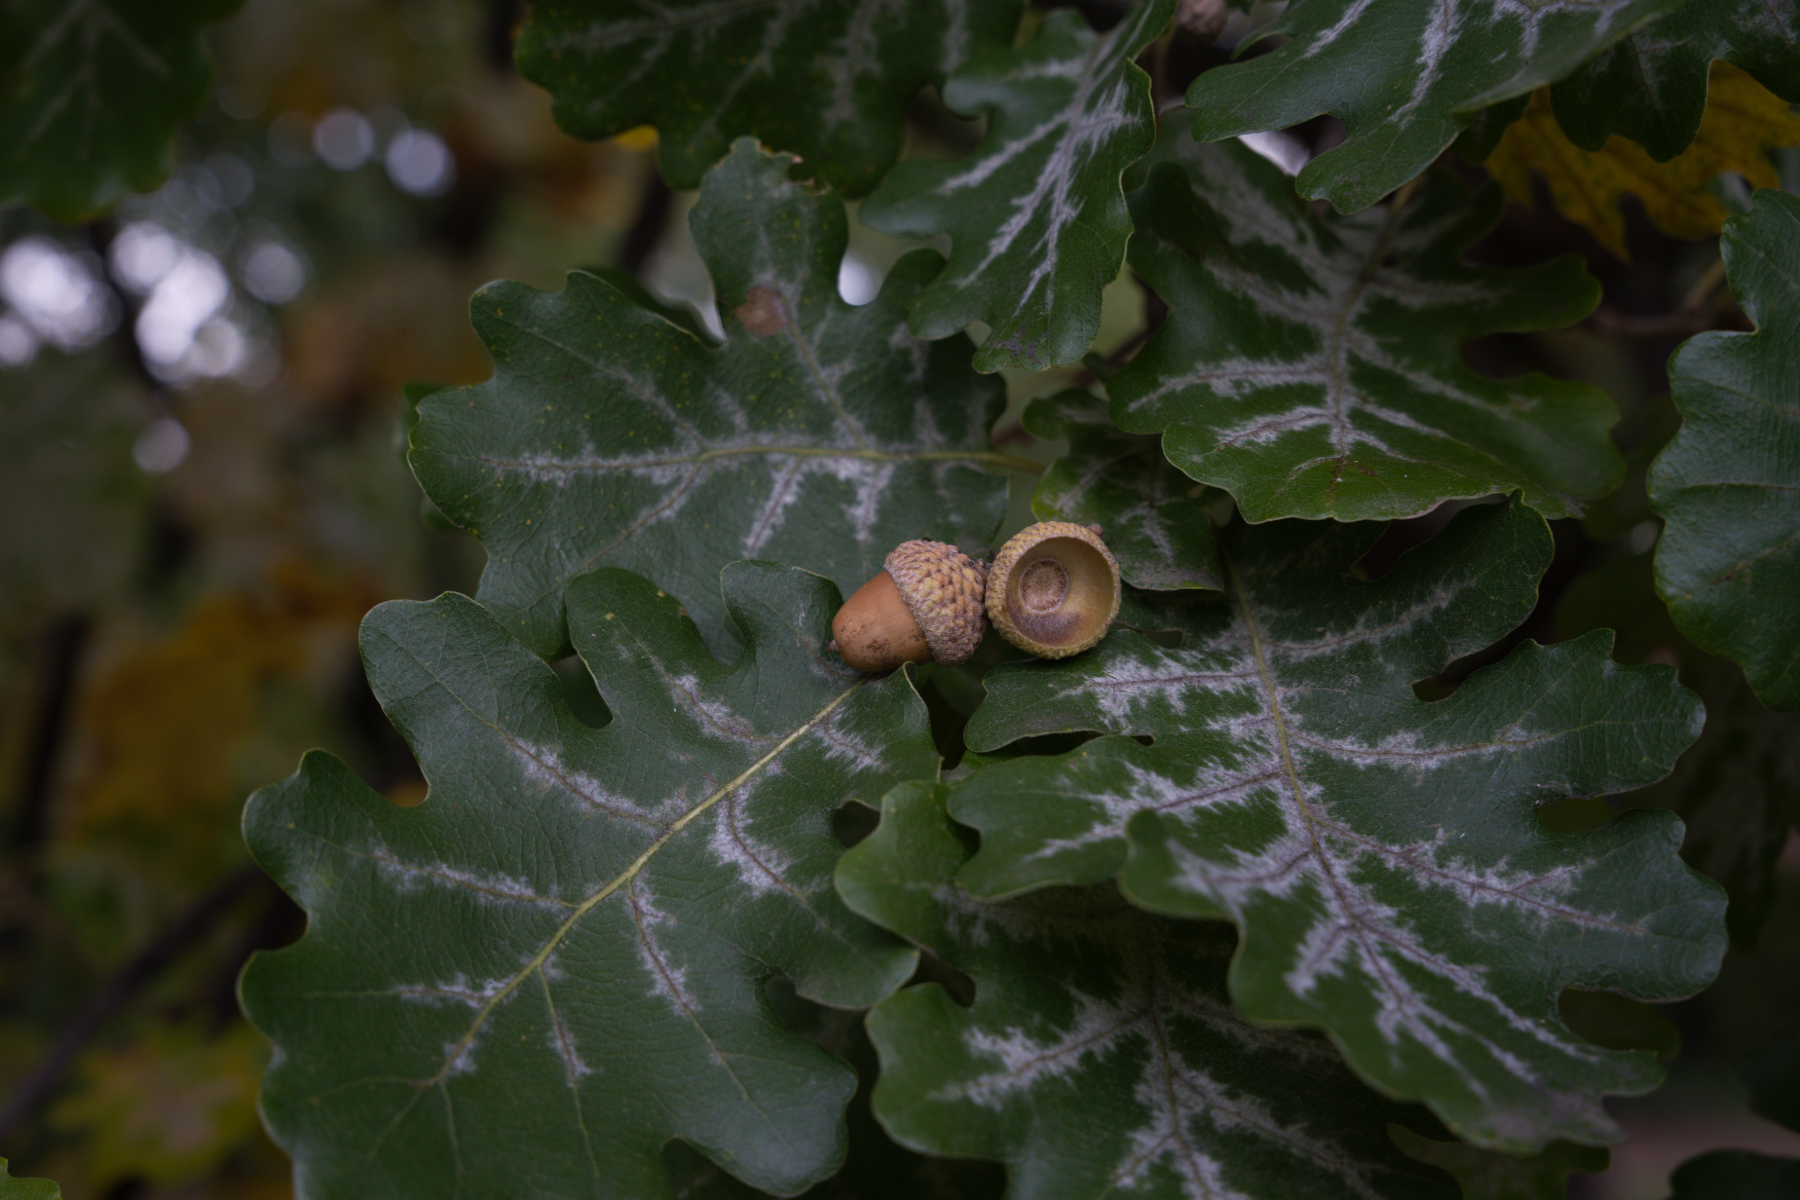
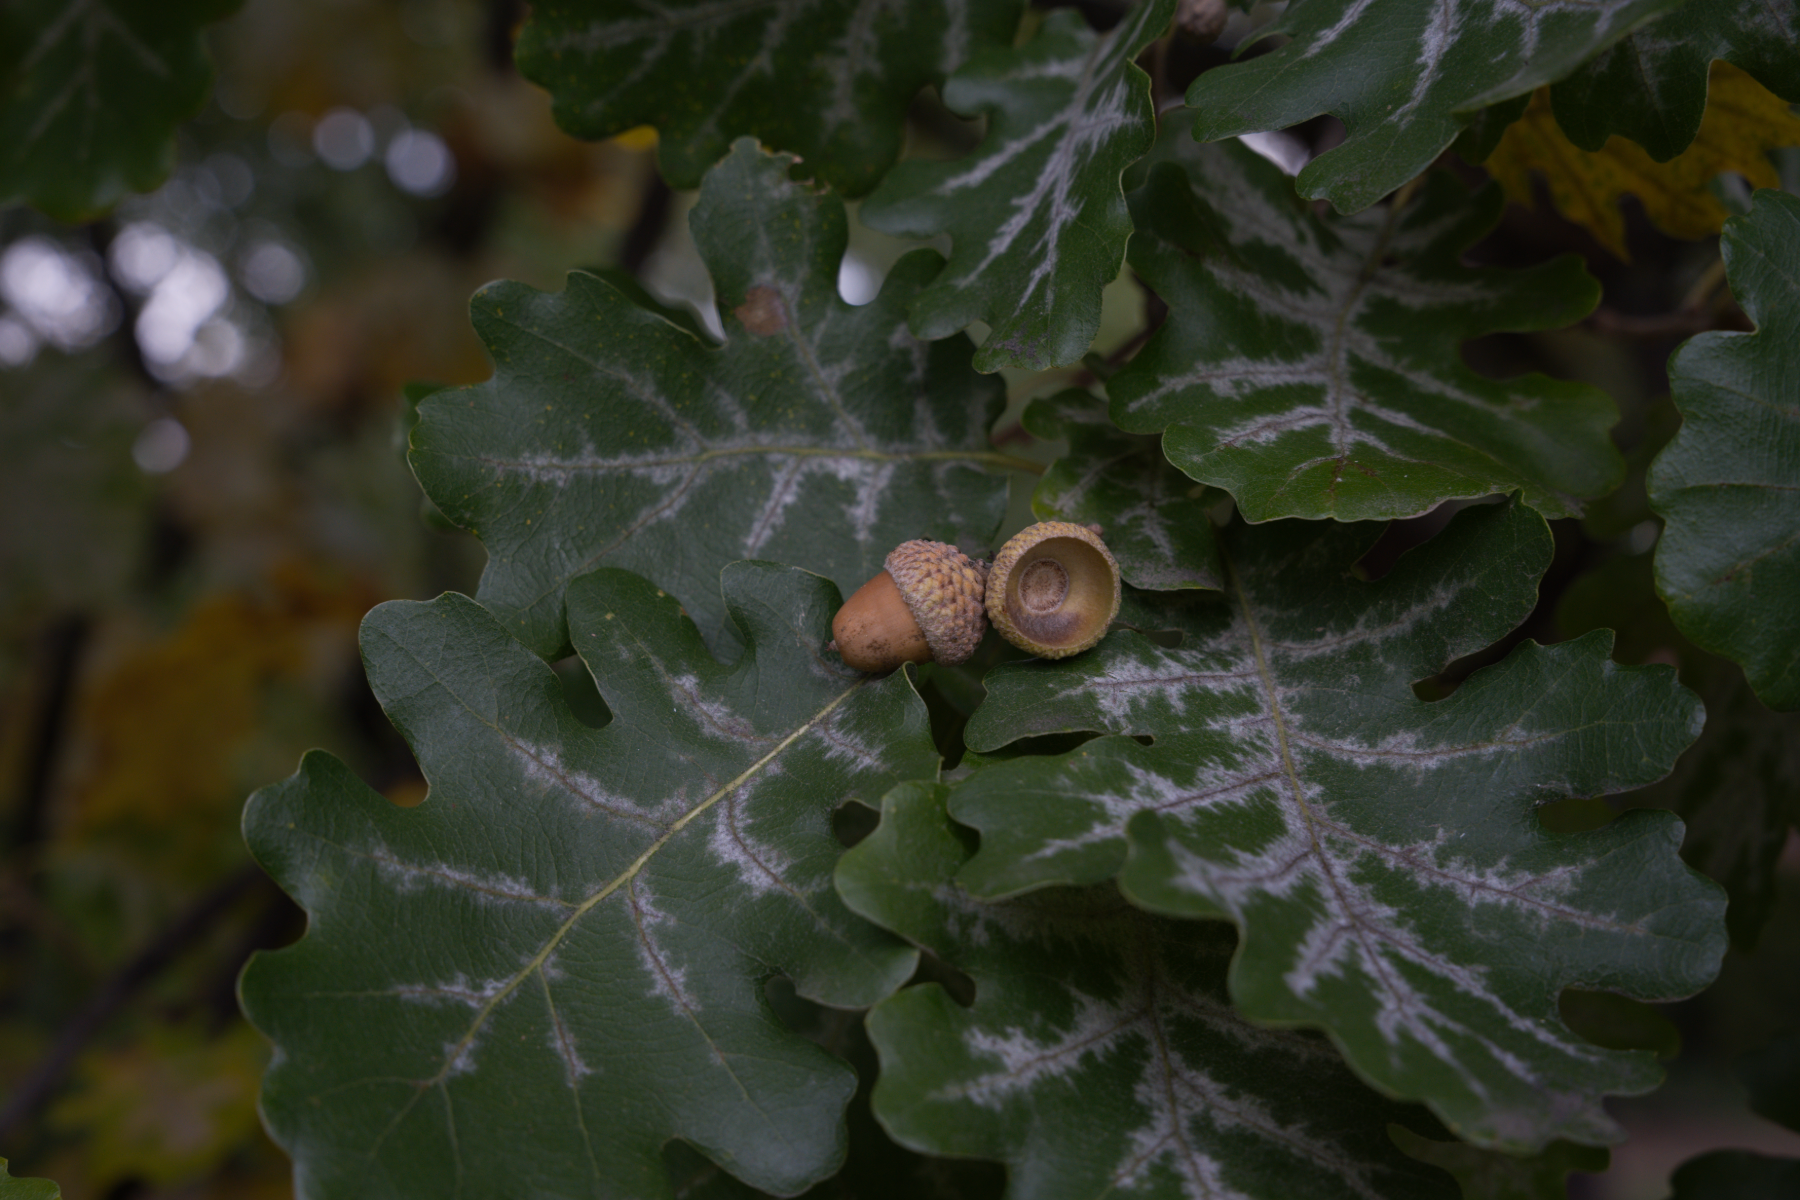
An example creative development, not a quality benchmark. Both sides come from the same unmodified RAW file.
The detail view uses the same 960 × 640 source-pixel rectangle on both sides, starting at (3024, 2016). Its display size adapts to your screen.
A closer look
Adjust exposure, highlights, shadows and tone curves. Refine the tonal balance without rewriting the source image.
Set white balance and work with hue, saturation and luminance. Use camera profiles and LUTs when they are part of your workflow.
Refine texture, clarity, dehaze, sharpness and noise reduction. Inspect the whole image as well as magnified details.
Open supported camera RAW and DNG files, including Bayer and Fujifilm X-Trans, as well as JPEG, TIFF, JPEG XL, EXR and Radiance HDR images.
Inside Phorevia
The actual desktop workspace, with the photograph and tools used for this example.
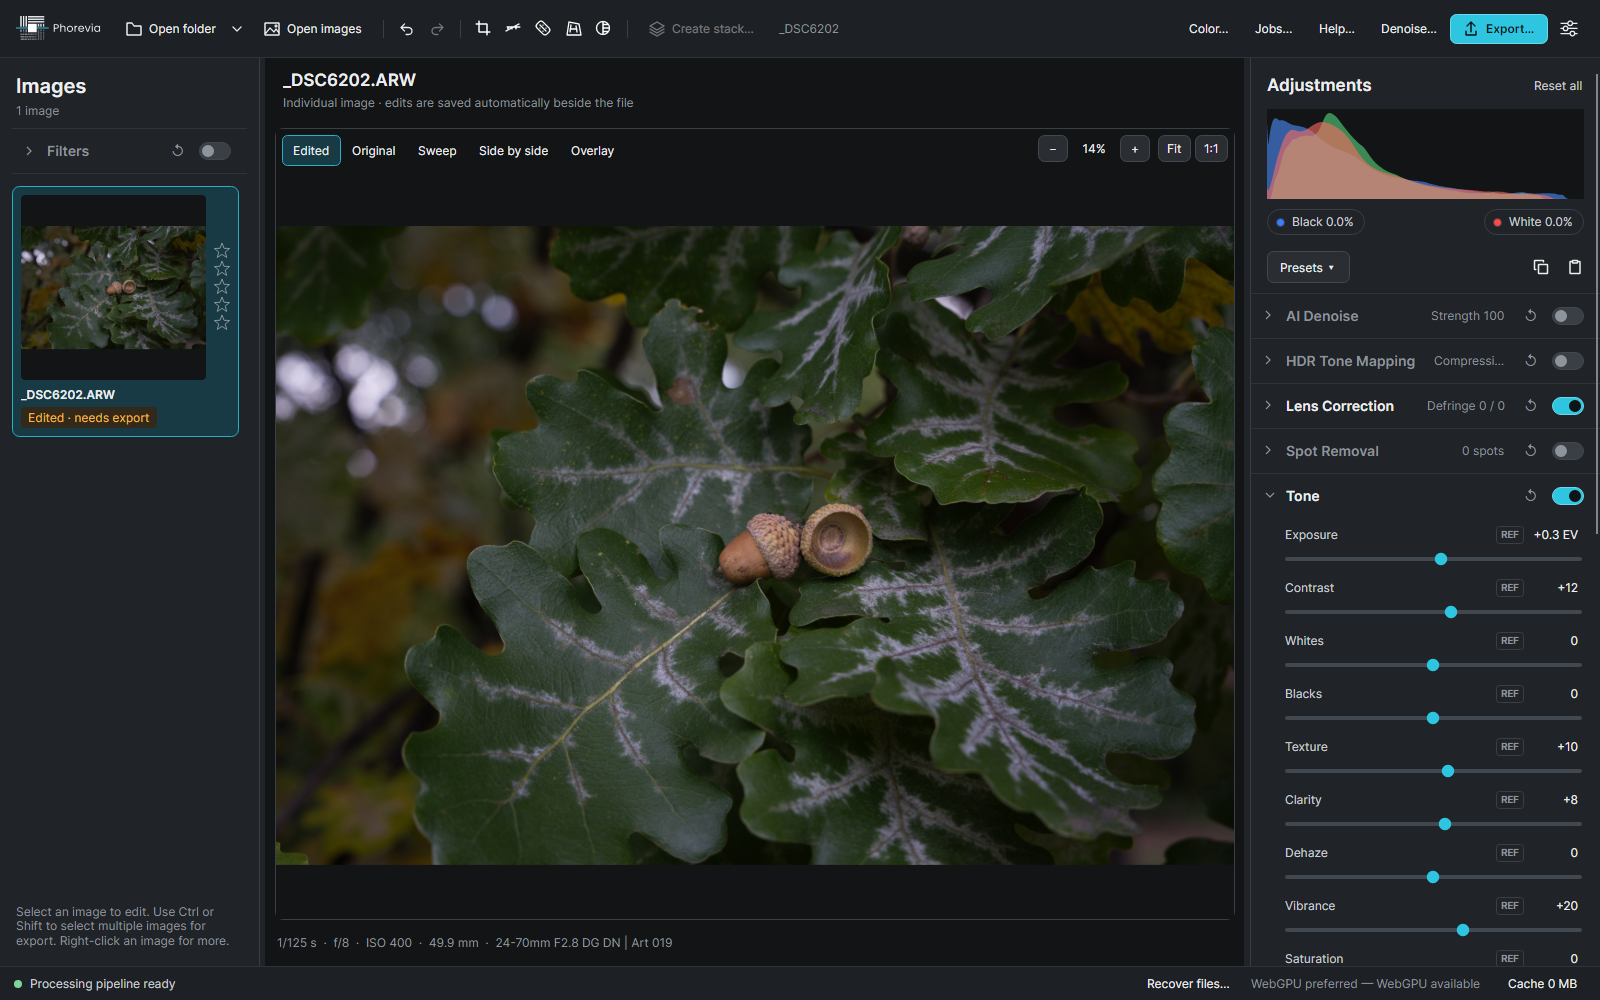
Select an image from a file or folder; the editor opens on the selected image.
Adjust light, white balance, tone and colour, then refine detail.
Edits save separately. Export the format and colour settings your next step needs.
Keep exploring
Make it your own
Explore every feature for 14 days. No card needed.