
Work from the RAW data
AI denoising uses the sensor data rather than a finished, compressed photograph. Availability depends on the source image and the supported model.
AI denoise
Give a noisy capture another look. Phorevia's AI processing works from sensor data, with models for Bayer and X-Trans inputs. Examine the result in context and at detail scale before choosing your final edit.
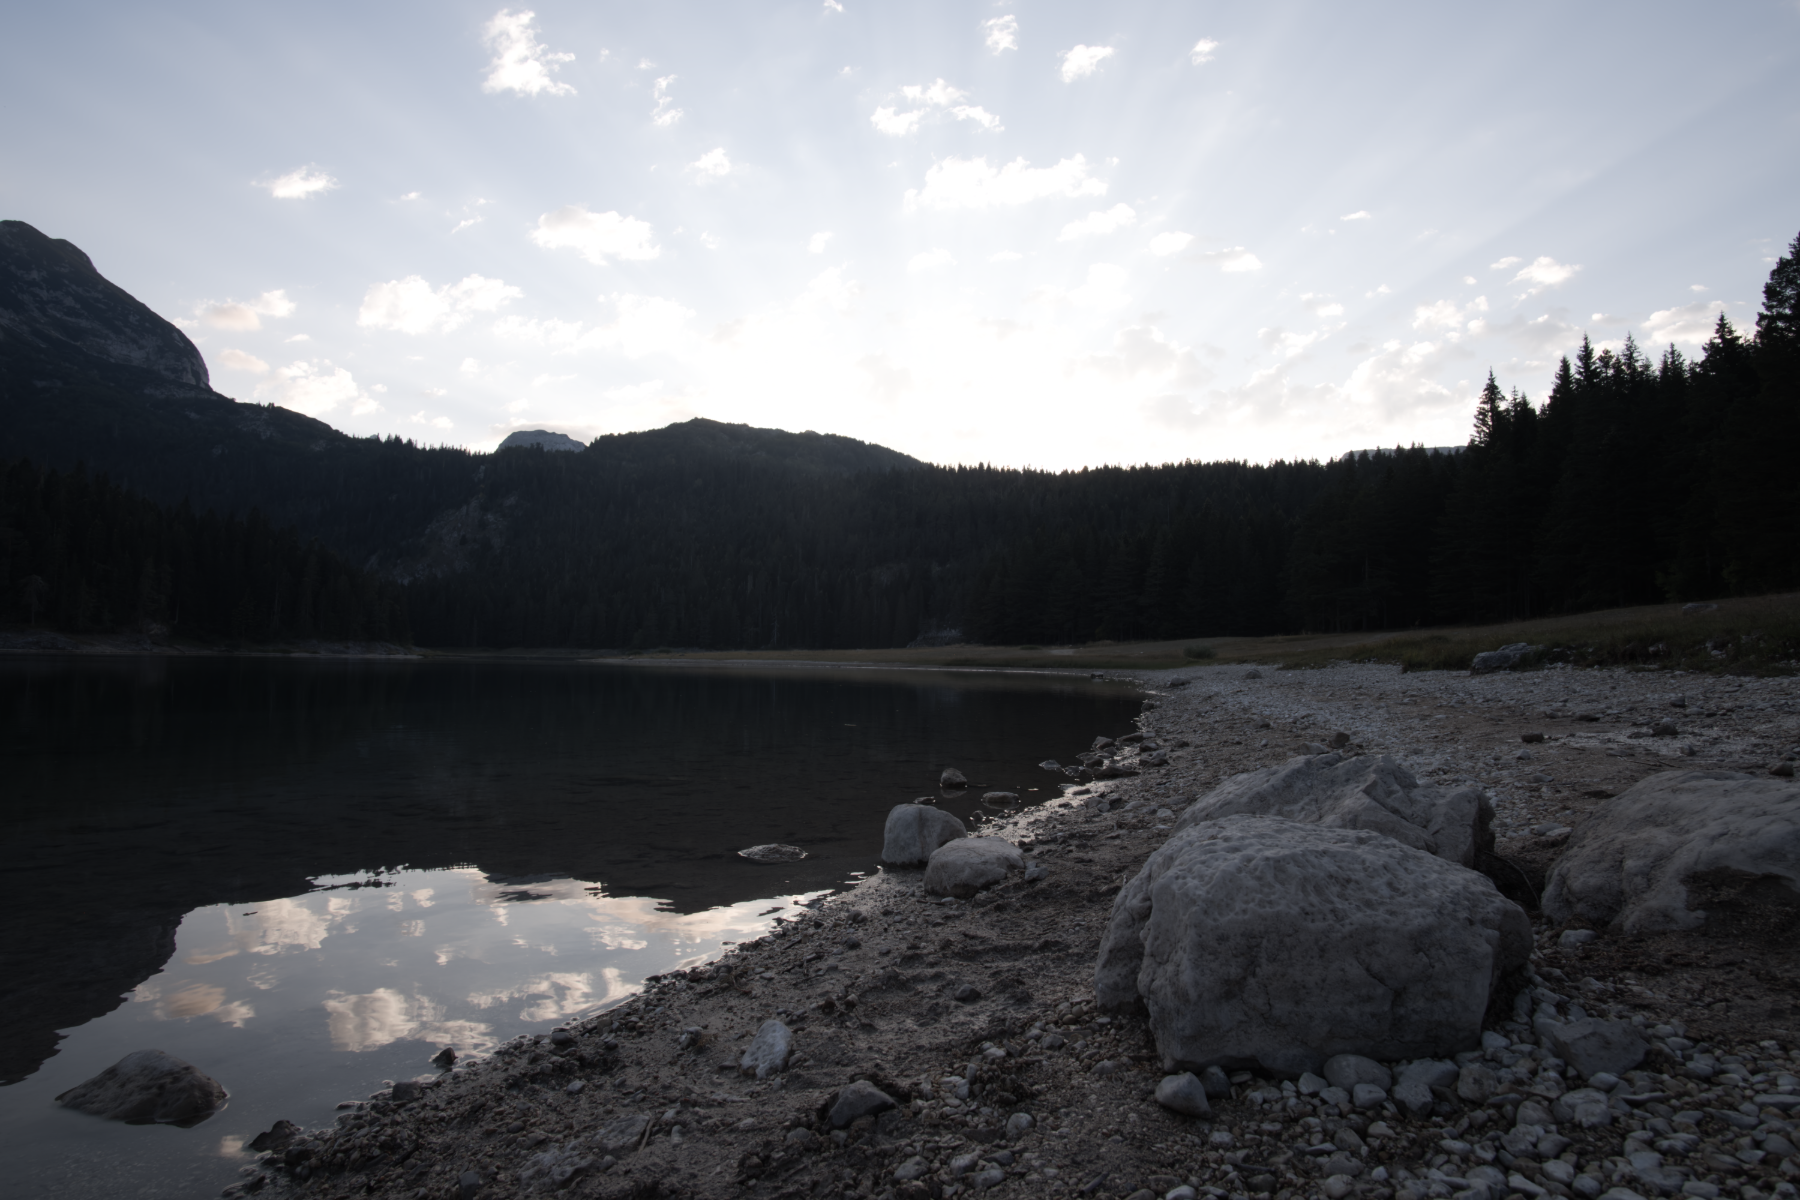
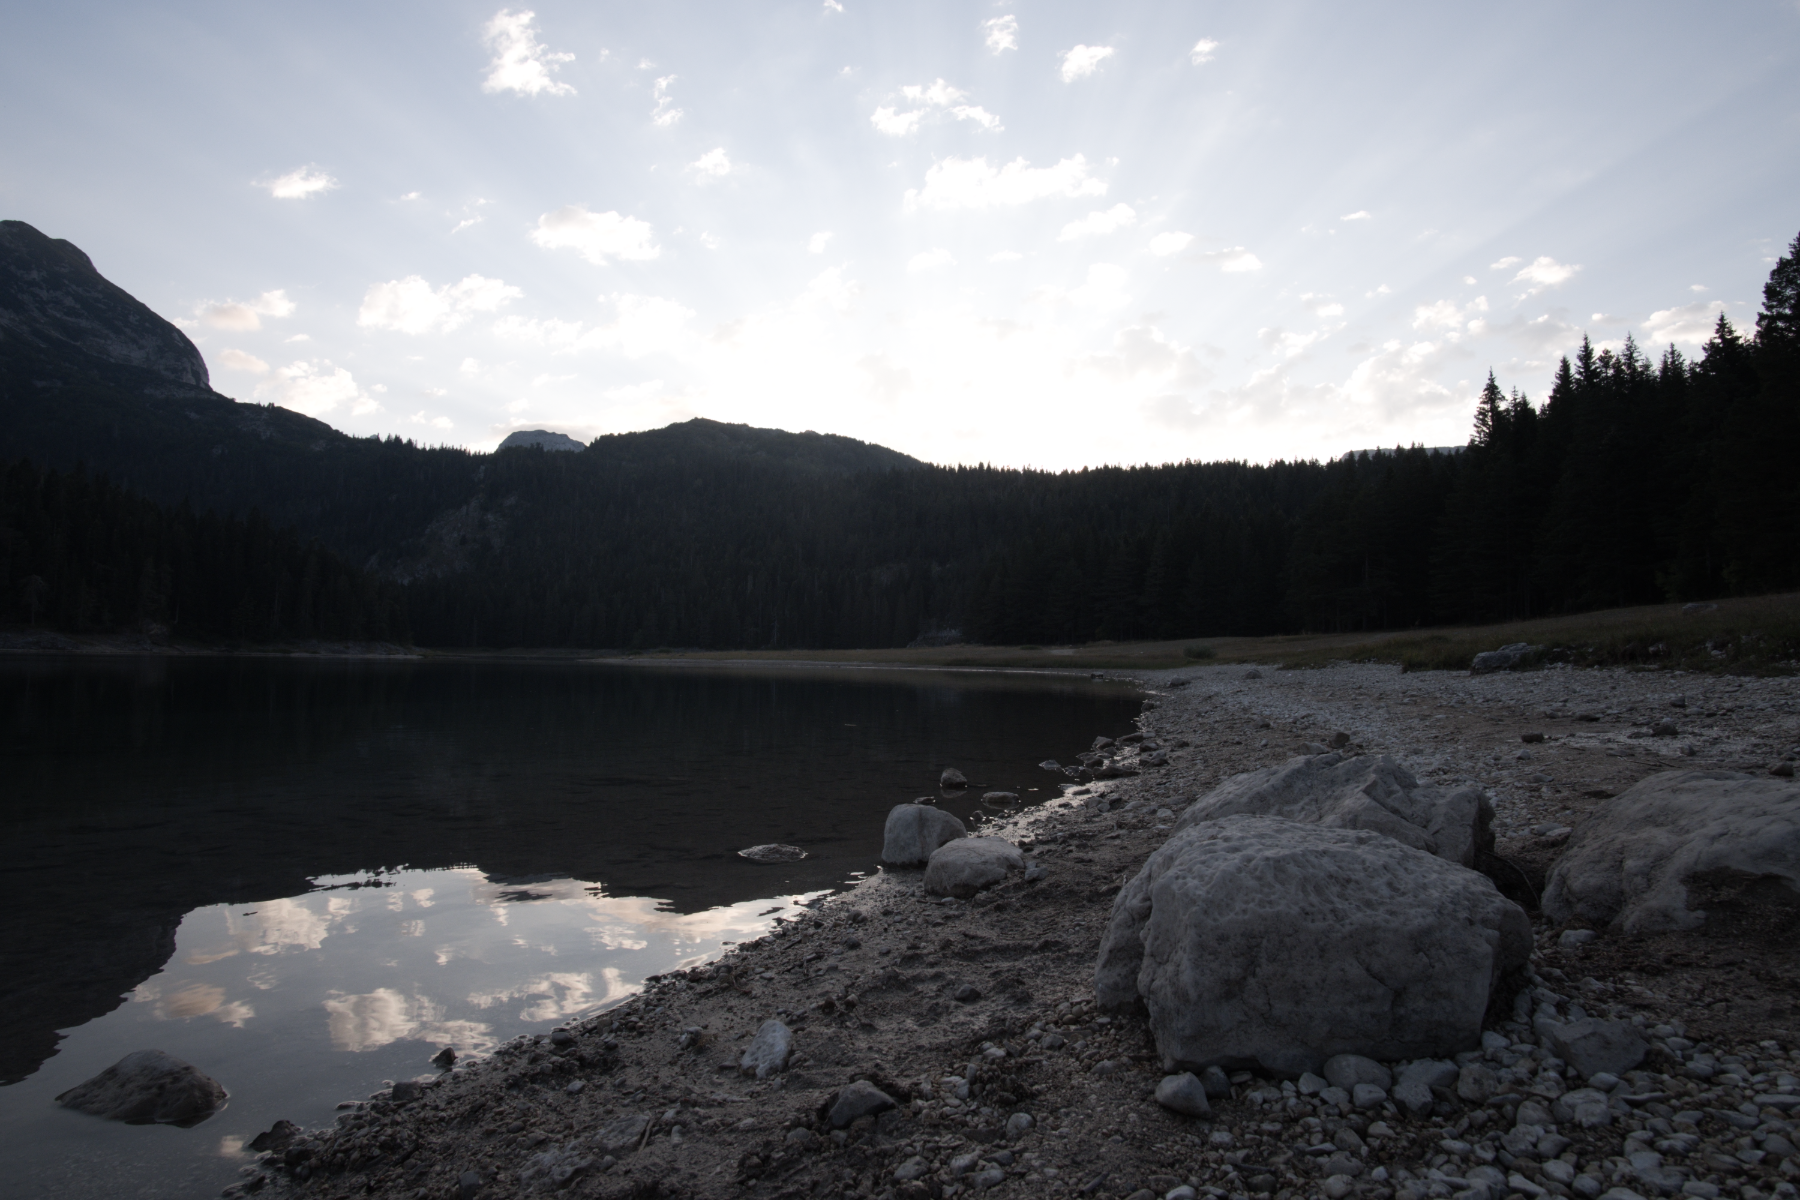
AI denoise off/on on the same RAW capture, with identical exposure, white balance and output rendering.
The detail view uses the same 960 × 640 source-pixel rectangle on both sides, starting at (2520, 1680). Its display size adapts to your screen.
A closer look
AI denoising uses the sensor data rather than a finished, compressed photograph. Availability depends on the source image and the supported model.
Dedicated processing supports the different sensor arrangements. Check your own camera files during the trial.
Compare the original and processed result. Hair, foliage, fabric and repeated patterns are useful places to assess detail alongside noise.
Denoise a supported individual RAW or eligible combined result, then continue with the same colour, tone and export tools.
Inside Phorevia
The actual desktop workspace, with the photograph and tools used for this example.
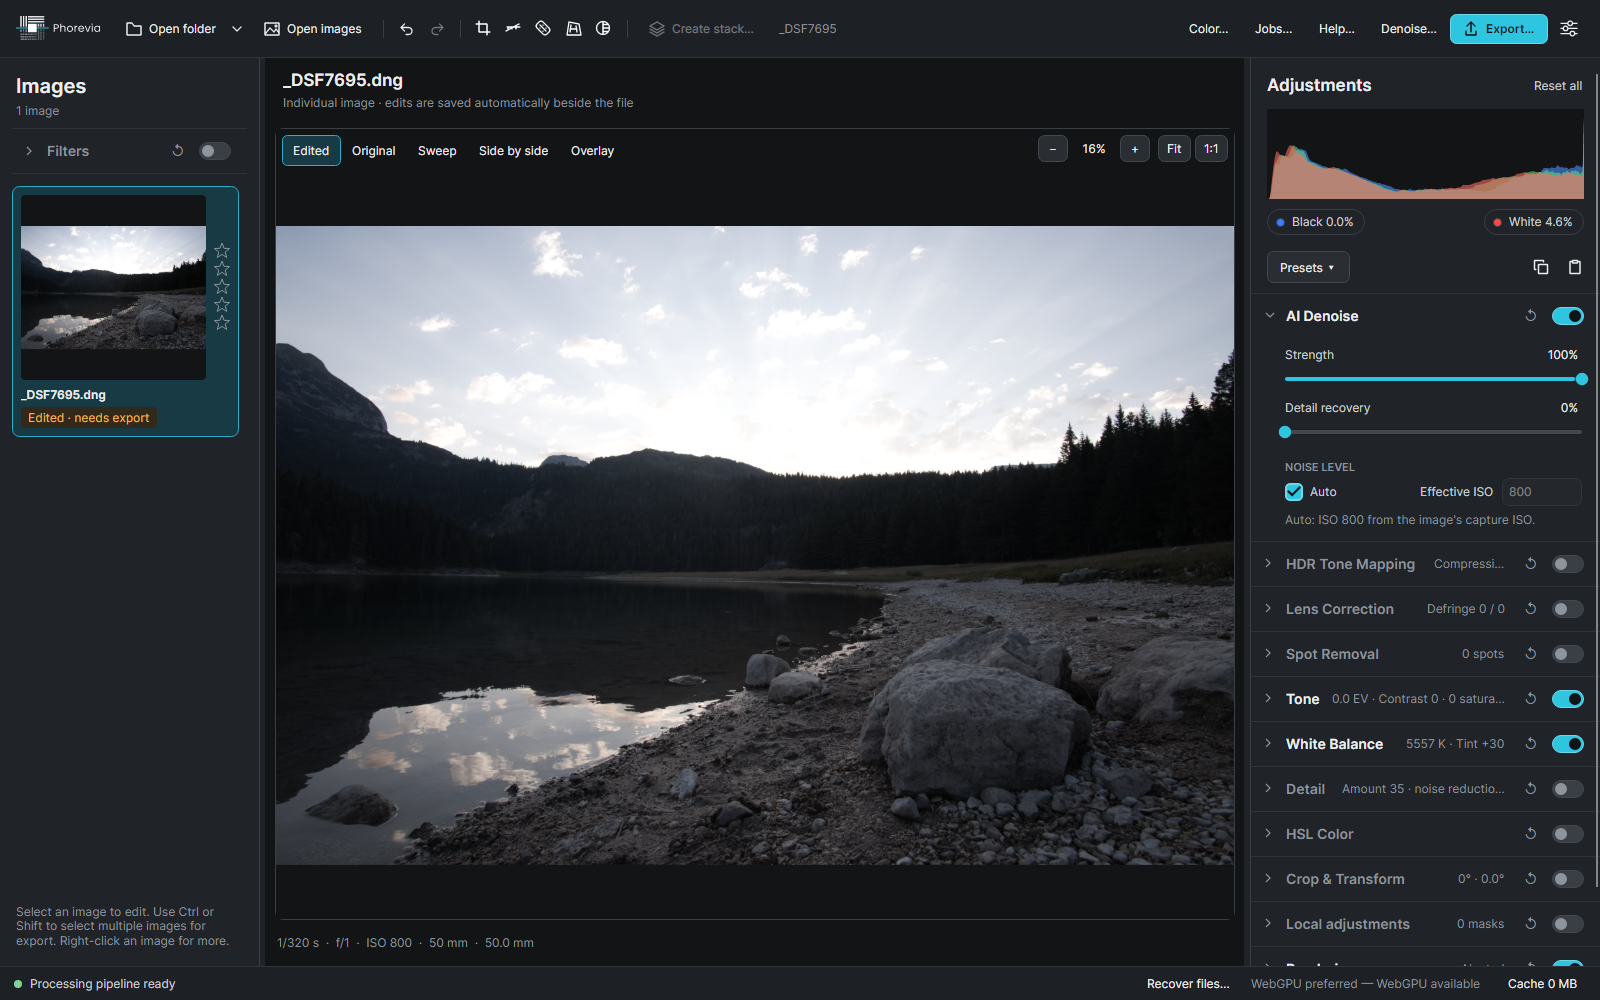
Choose a noisy image and inspect its fine detail.
Apply the AI denoise operation and wait for processing to finish.
Inspect smooth areas and texture, then continue developing or export.
Keep exploring
Make it your own
Explore every feature for 14 days. No card needed.