
Choose a calibration source
Use a suitable photograph, or save and print the calibration chart and photograph it with the lens and settings you want to characterise.
Lens sharpening
A lens does not resolve detail equally everywhere in the frame. Phorevia can measure suitable edges in a photograph or chart capture, create a sharpness profile and use it to guide correction on your photographs.
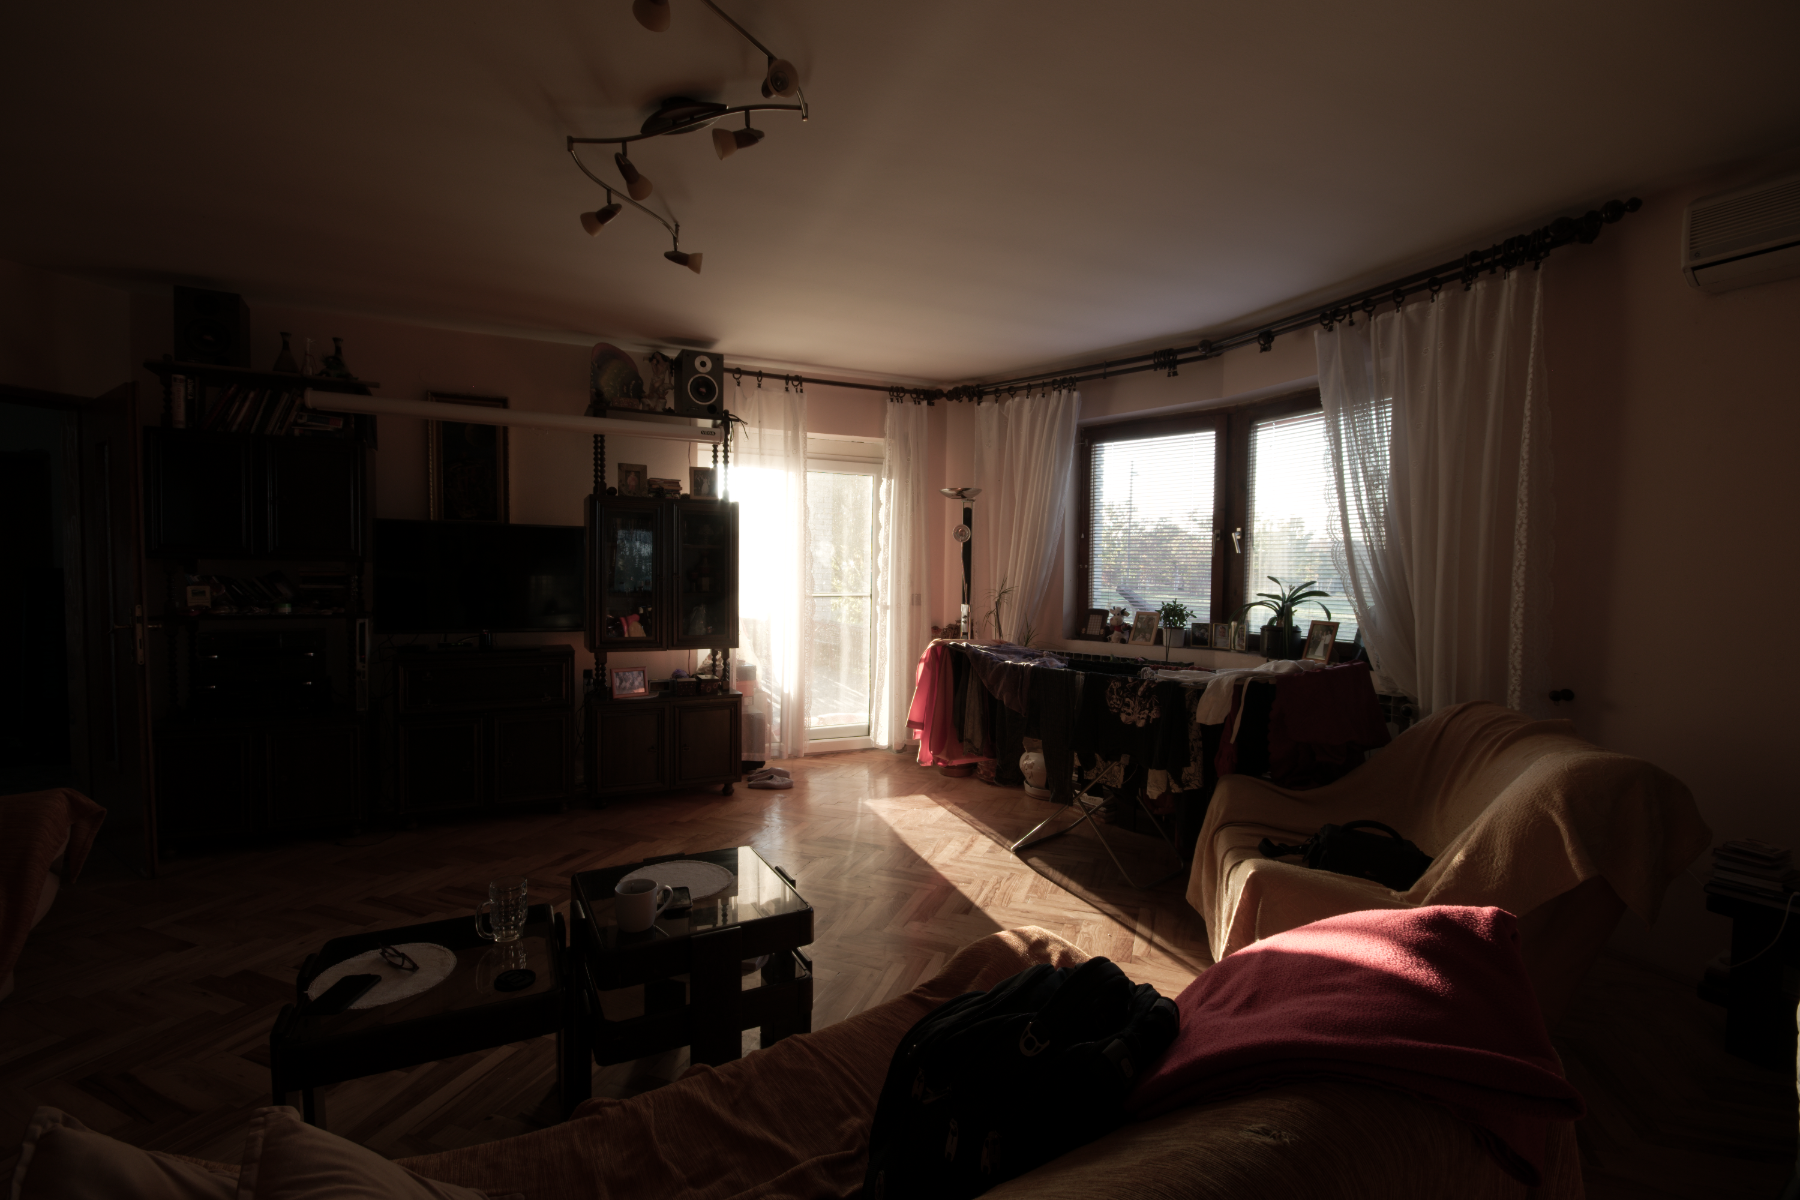
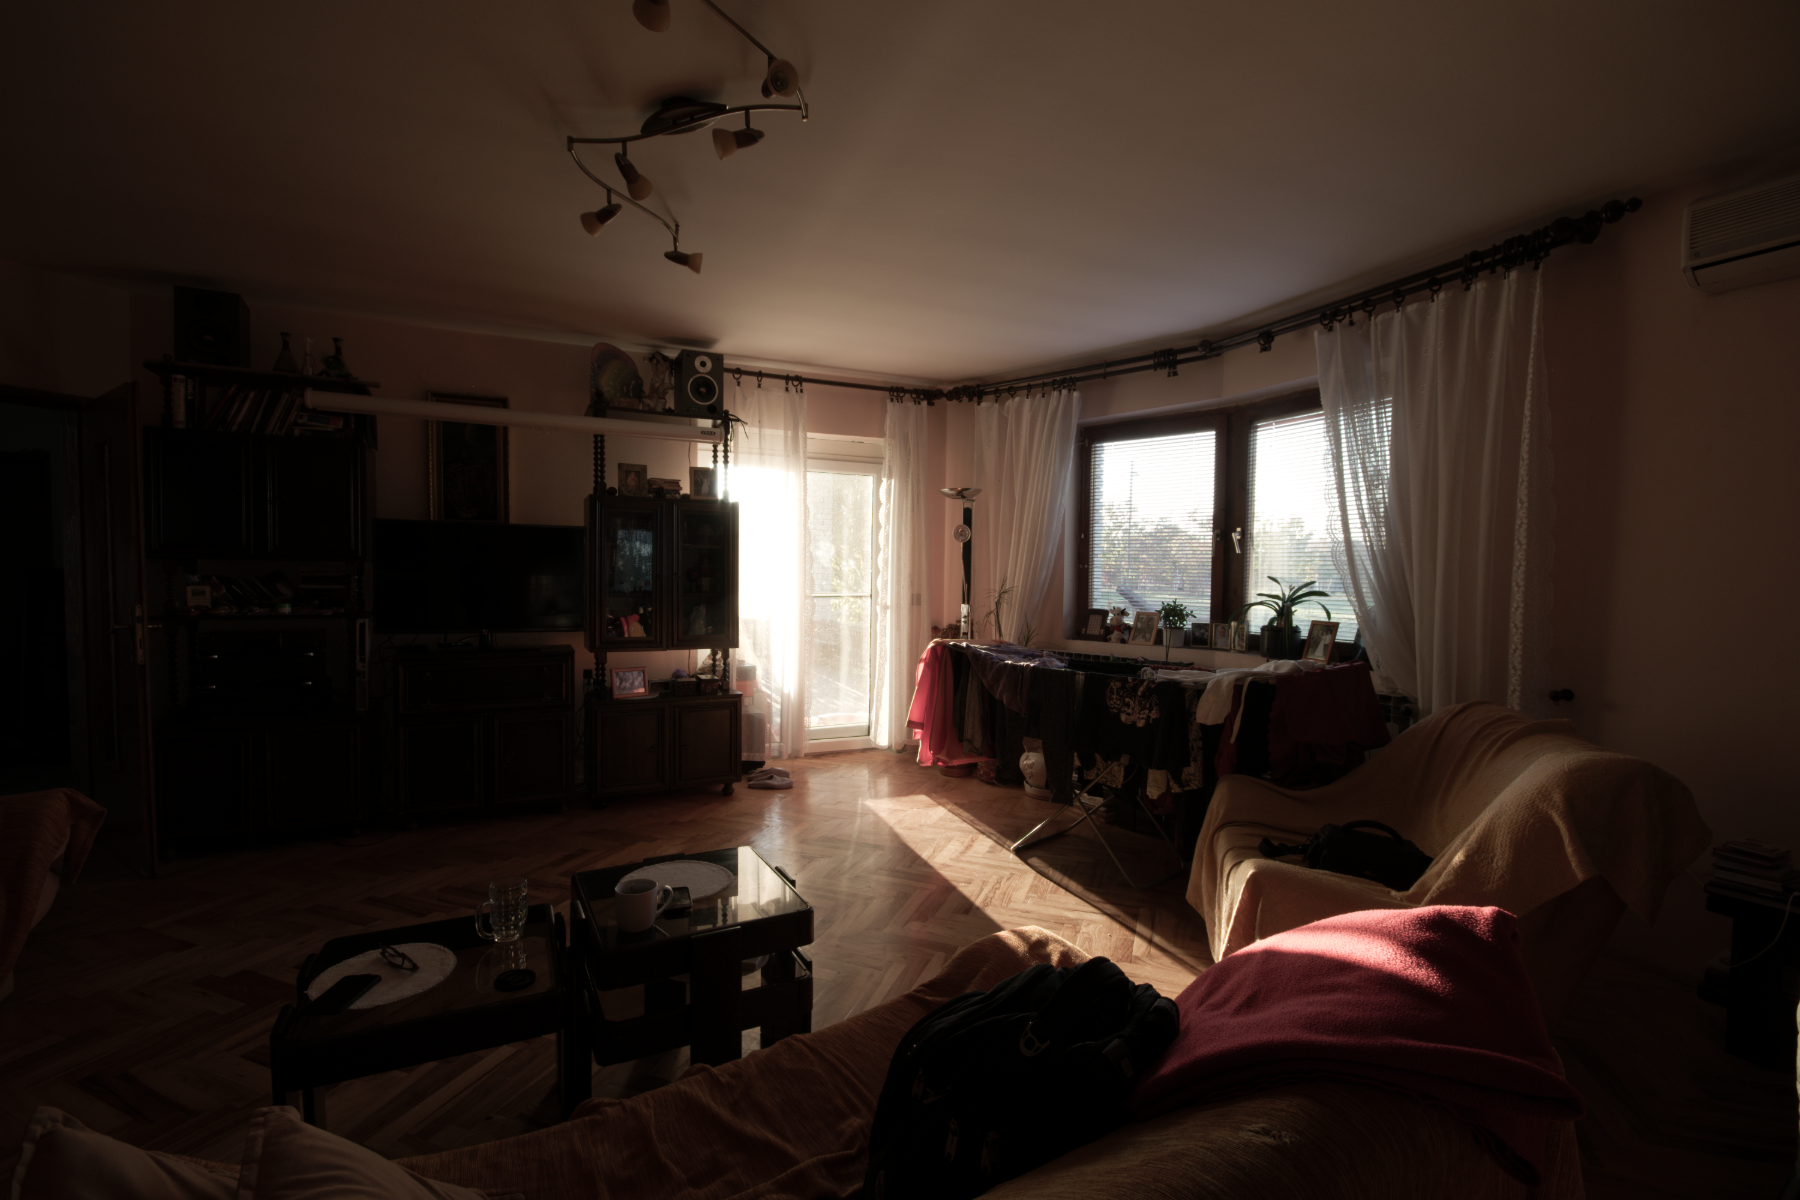
The profile was measured from this photograph using Phorevia's photo-calibration workflow. It can include focus and motion softness; it is not a claim of chart-measured lens performance.
The detail view uses the same 960 × 640 source-pixel rectangle on both sides, starting at (2520, 1680). Its display size adapts to your screen.
A closer look
Use a suitable photograph, or save and print the calibration chart and photograph it with the lens and settings you want to characterise.
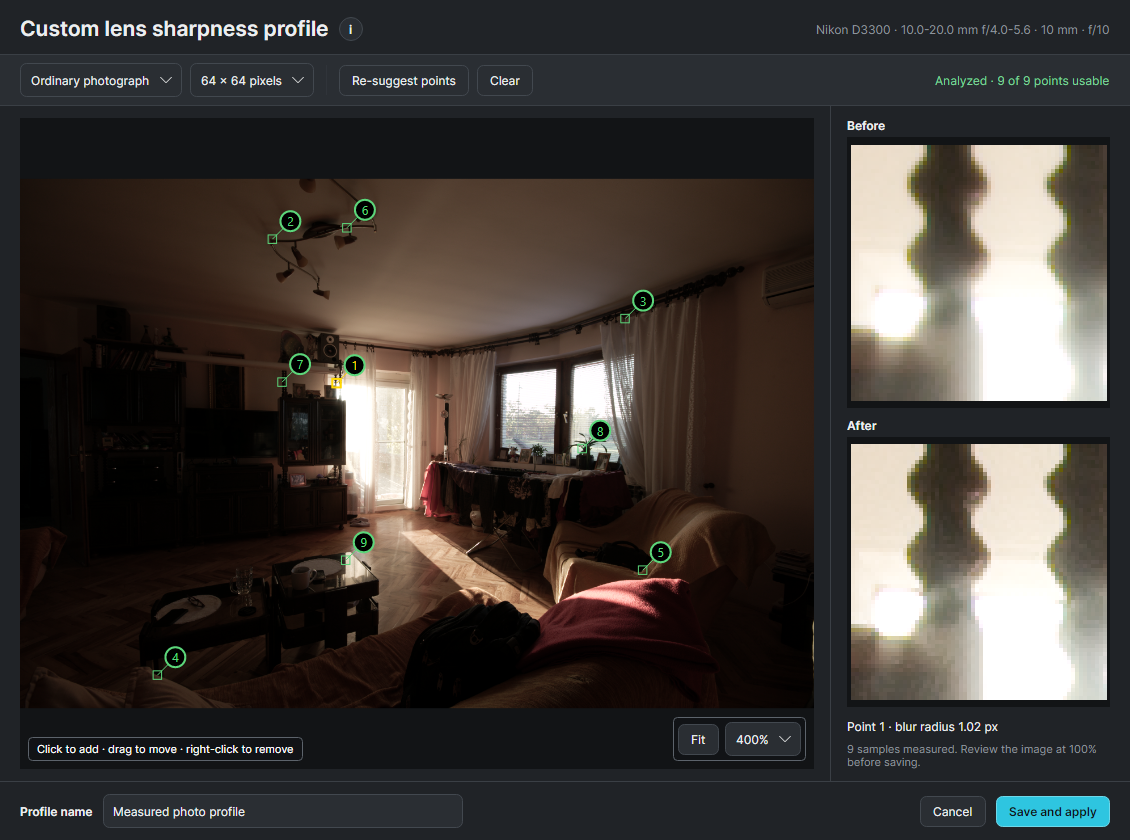
Analyse the chart samples, inspect the fitted result and save a usable lens sharpness profile.
Select the appropriate profile and inspect its correction on real photographs. Keep the capture conditions in mind when choosing a profile.
Compare corners and centre at detail scale. Watch for excessive sharpening on high-contrast edges as well as changes in texture.
Inside Phorevia
The actual desktop workspace, with the photograph and tools used for this example.
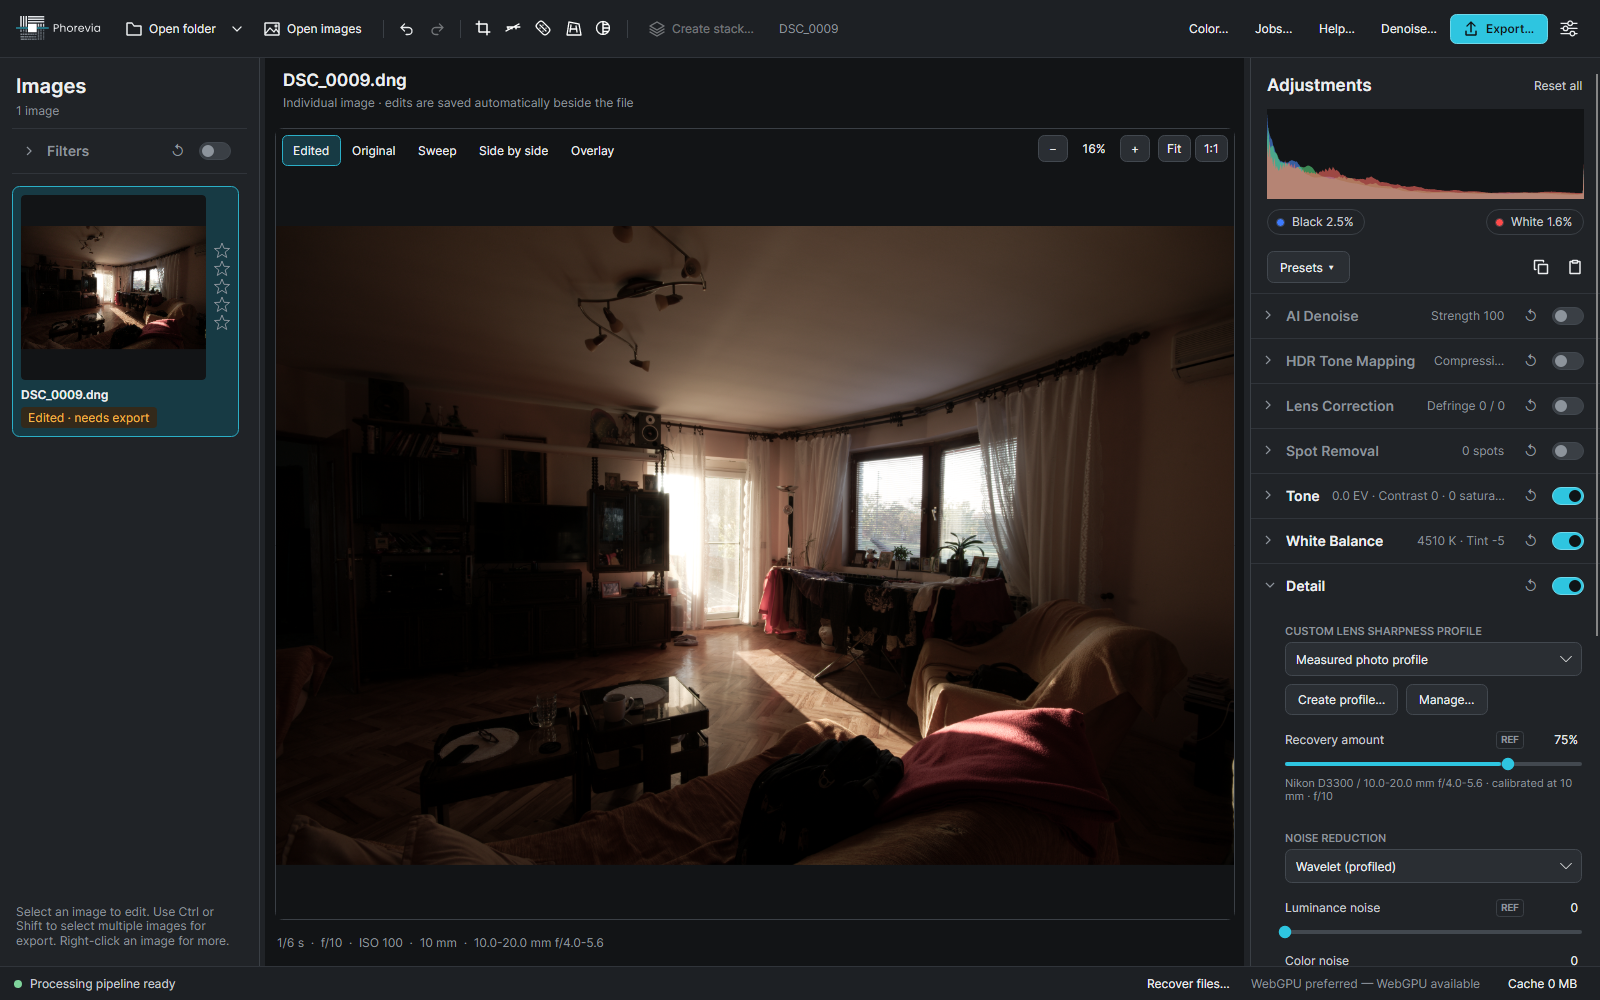
Use a photograph with suitable edges or a carefully captured calibration chart.
Run the measurement, review the accepted edge samples and fit, then save the profile.
Use the profile on a photograph and inspect correction off versus on.
Keep exploring
Make it your own
Explore every feature for 14 days. No card needed.